
|
|
 |
|
|
|
Welcome to the Australian Ford Forums forum. You are currently viewing our boards as a guest which gives you limited access to view most discussions and inserts advertising. By joining our free community you will have access to post topics, communicate privately with other members, respond to polls, upload content and access many other special features without post based advertising banners. Registration is simple and absolutely free so please, join our community today! If you have any problems with the registration process or your account login, please contact us. Please Note: All new registrations go through a manual approval queue to keep spammers out. This is checked twice each day so there will be a delay before your registration is activated. |
|
|||||||
 |
|
|
Thread Tools | Display Modes |
|
|
|
|
#1 | ||
|
Starter Motor
Join Date: Feb 2007
Posts: 27
|
Ok so my Dad asked me to change the stereo in his taxi, and when I went online to seek some help/advice, I came across someones post who suggested 'thinking outside the box'. The way i see it, if you don't have the know how, don't post!!!
So heres my little bit to help, in 10 easy steps. 1. This is the basic AU falcon stereo setup 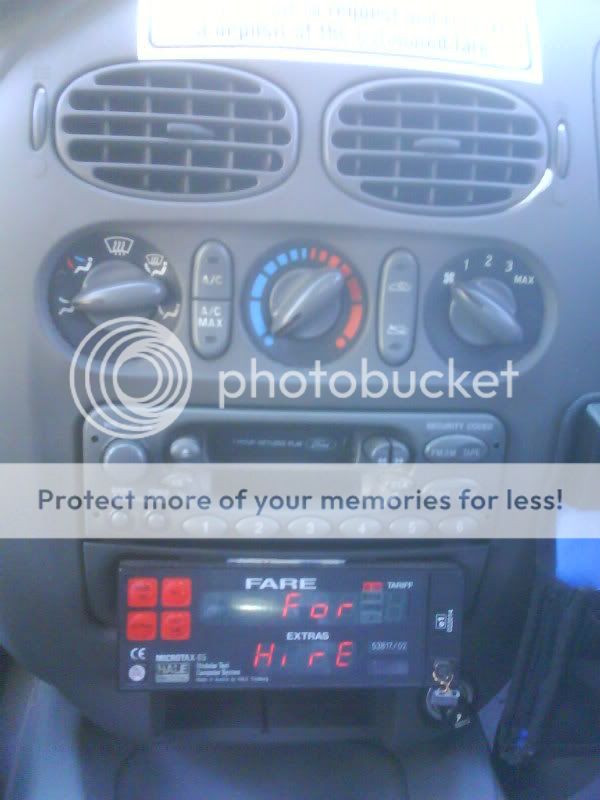 2. To remove, get a coat hanger and open it up, split it into 2 and form 2 U-shape pieces. Wack these into the little holes, and slide the stereo out. 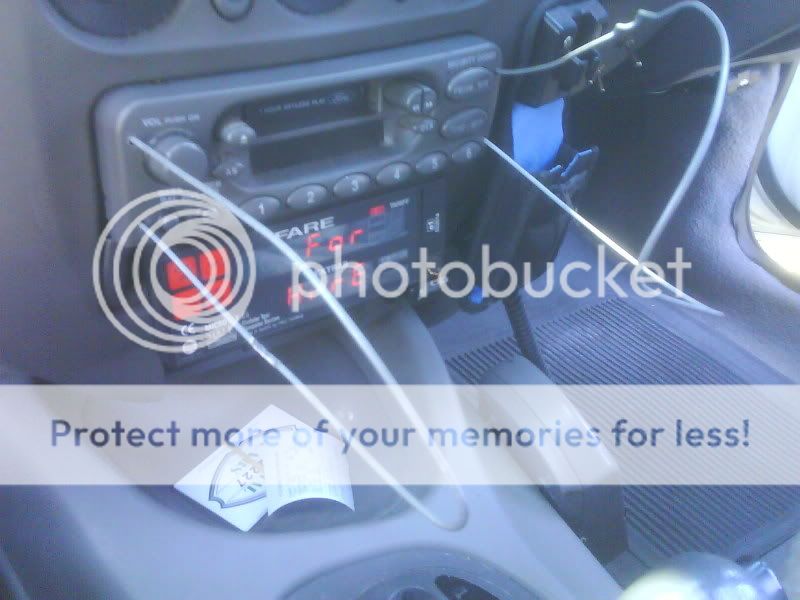 3. Snip the wires off ONE by ONE (this avoids short circuiting)  4. With a current detector, find the power cable. (It's the yellow one.) 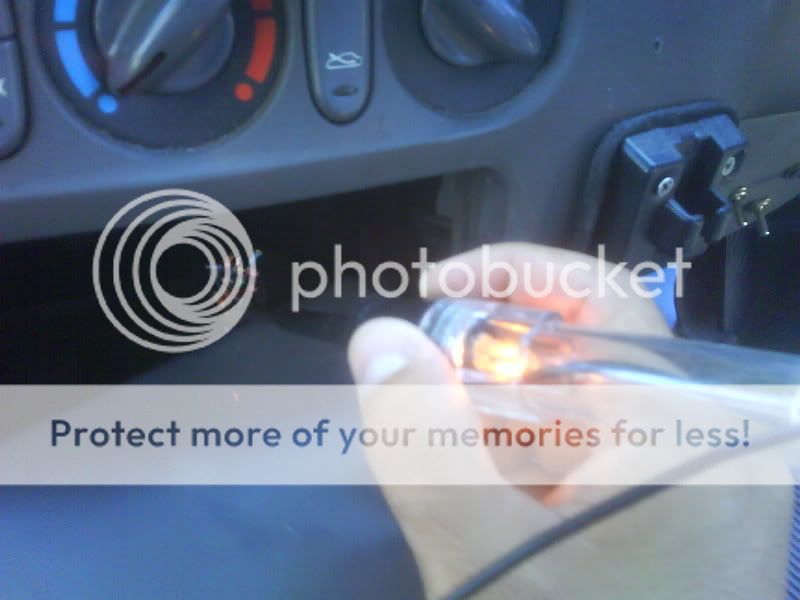 5. With the current detector, find the accessory power cable (its the purple one)  6. Get a bendy metal with holes in it, I call it the Bendy Holy Metal. Screw it into the sides of the deck. 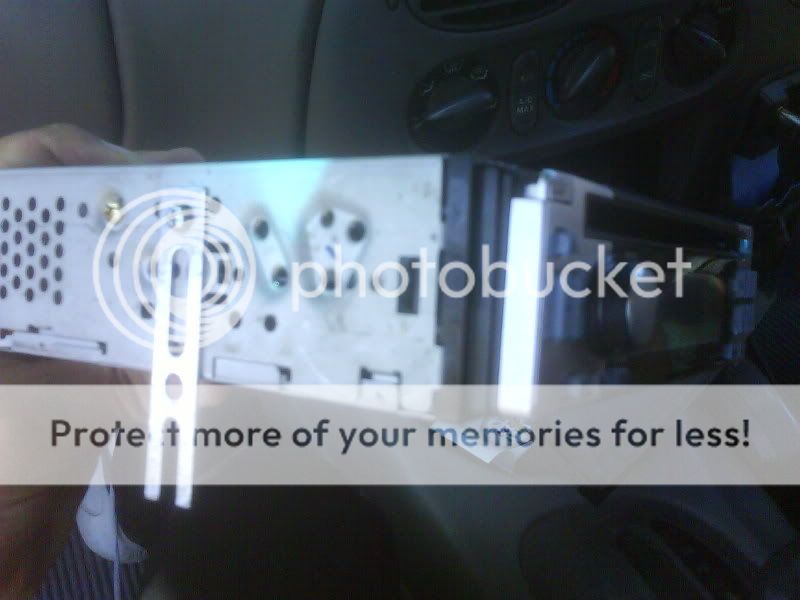 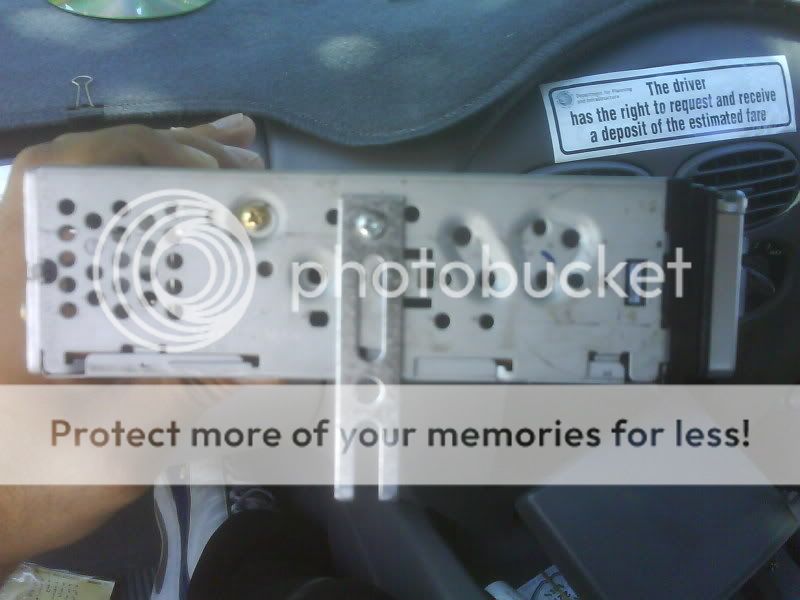 7. Slide out the bottom pocket and position it under the deck. Place some spacers between the bottom pocket and the deck. I used cork and taped it in with duct tape.  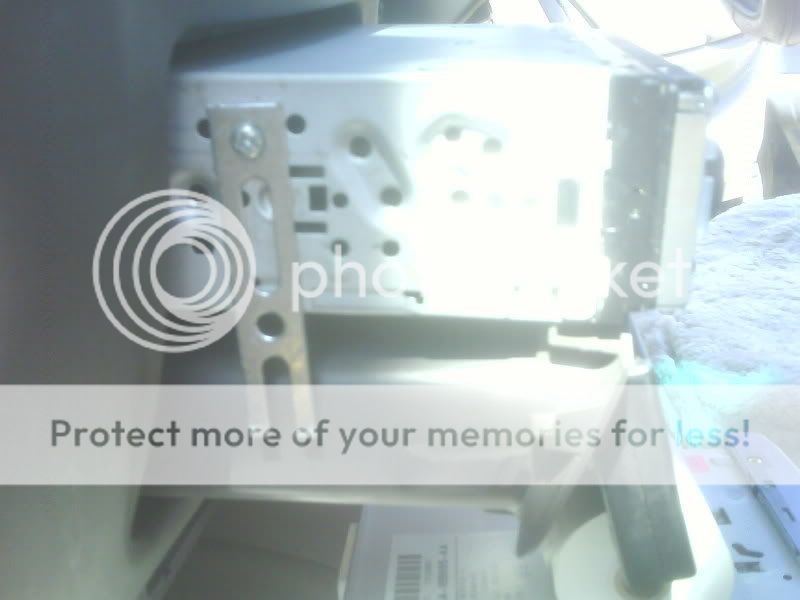 8. Screw it in. Make sure it is positioned correctly. 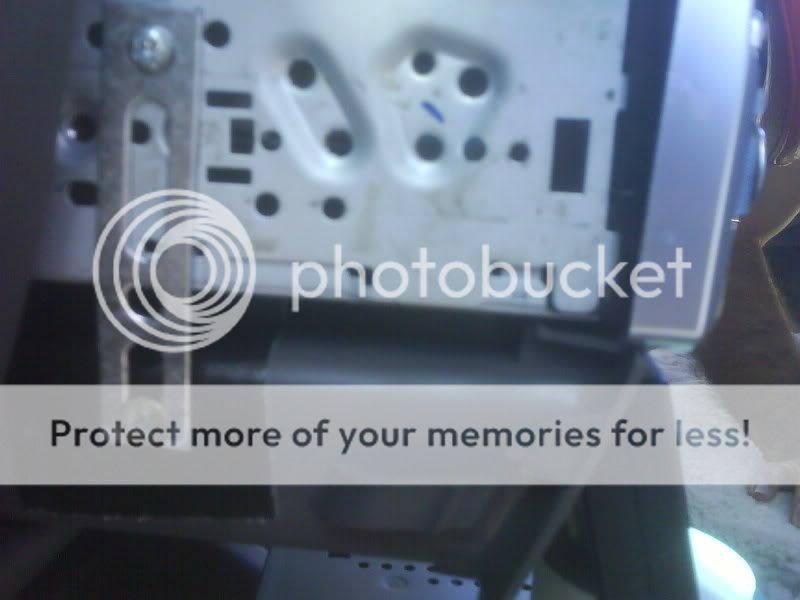 9. Push the, now 1 piece, deck & pocket back into the console. The bottom pocket will clip in, holding everything in place. 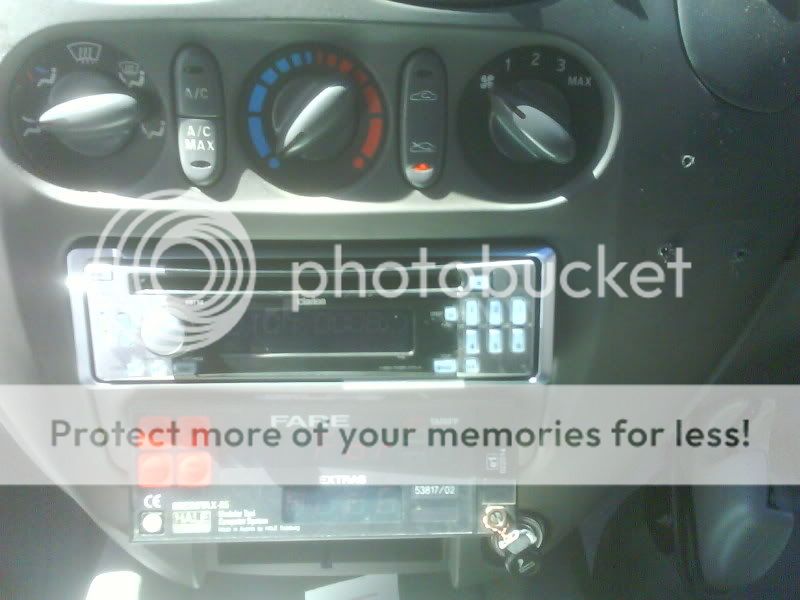 10. Enjoy your new deck. 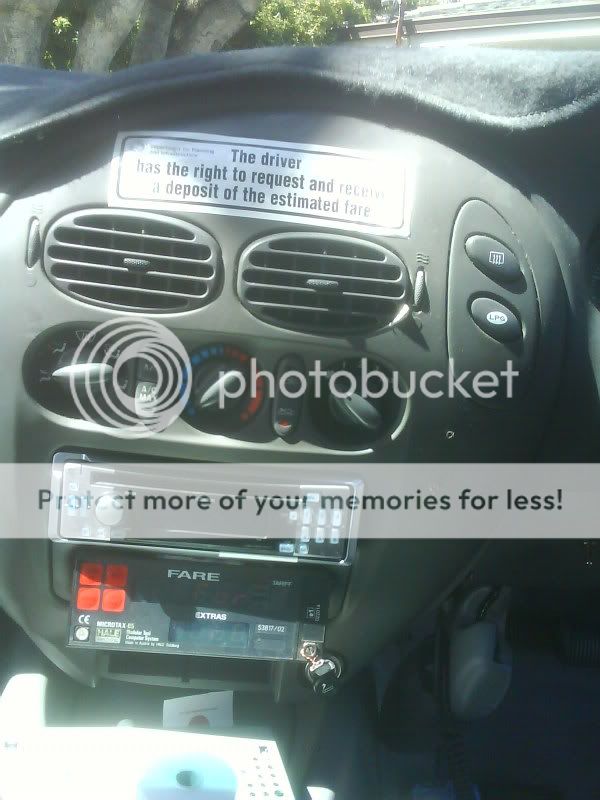 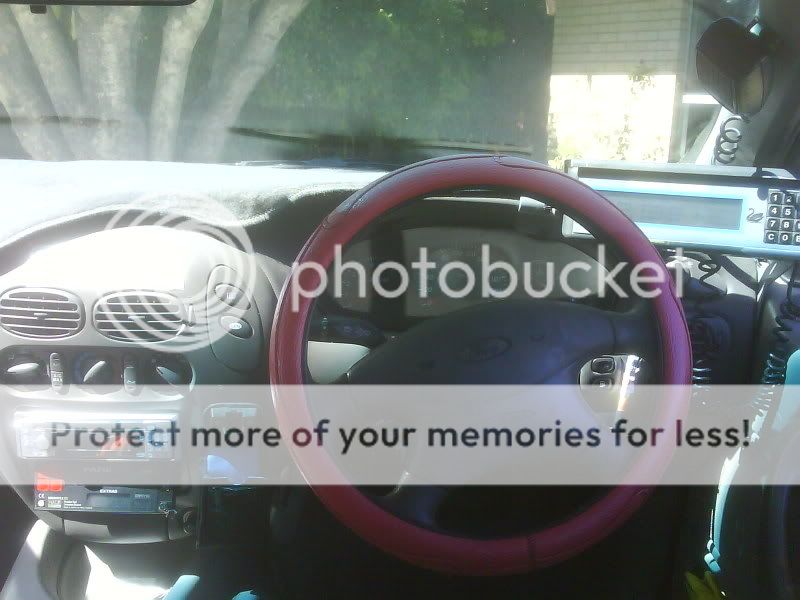 |
||
|
|

|
|
|
#2 | ||
|
All Bran = Regular Member
Join Date: Feb 2006
Location: BrizVegas
Posts: 1,970
|
Nice job...
With regard to 2. (wacking in the coathanger to remove head unit) do you have to jiggle the coathangers or pull them a particular way? I've been trying to remove my double din head unit and I'm buggered if I can get any movement at all with the coathanger method. Coathangers go in, then sorta "click" and then.... nothing. Got my hand up behind the head unit but it ain't going anywhere... |
||
|
|

|
|
|
#3 | ||
|
Just slidin'
Join Date: Sep 2005
Location: Brisvegas
Posts: 7,791
|
Tried the coathanger trick, but wouldnt work for me when I done mine. Also, I have the same (I think) Head unit as that, worked well for just over a year, but now in summer, in the afternoons when the interior is hot, the cd's wont go all the way in, so I use a long plastic spoon to force them in. It also starts skipping for no reason sometimes as well. Id say I just need an upgrade.
Thanks for the write up though.
__________________
MD Mondeo - For the family
NP Pajero - For the adventure |
||
|
|

|
|
|
#4 | ||
|
Starter Motor
Join Date: Feb 2007
Posts: 27
|
yeh don't be afraid to shove it in all the way, and a bit of shuffling and jiggling. keep the coat hangers right in the holes when pulling out. also, try sticking your finger in the tape deck and pulling it out a bit.
|
||
|
|

|
|
|
#5 | ||
|
Flying high...
Join Date: Aug 2005
Location: QLD
Posts: 277
|
When i removed my factory unit i used four small screw drivers, shoved them into holes and pushed either side outward to the side of the car and got someone to pull the thing out. Then unplugged the wires and arial and threw it in the nearest bin...
__________________
AU1 Forte - 17'' AU2 Tickford rims on all corners, Super low springs,
KYB shock absorbs + camber castor kit and a 3.45 LSD, Tickford snorkel, 3" mandrel intake, K&N pod in the box, Polished Rocker Cover. |
||
|
|

|
|
|
#6 | ||||
|
BOSS Pilot
Join Date: Sep 2005
Location: on the loud pedal! Brisbane
Posts: 6,020
|
Quote:
__________________
Black BAII XR8 Ute Blue SY Territory Ghia Quote:
|
||||
|
|

|
|
|
#7 | |||
|
All Bran = Regular Member
Join Date: Feb 2006
Location: BrizVegas
Posts: 1,970
|
Quote:
Trick is to have something strong enough to push the "spring clip" which allows the unit to slide out. With mine I didn't have to jiggle, push one way or the other or anything else. Constant pressure on each clip released it and it slid out about 12mm. I won't throw mine in the bin as it works perfectly (never had the probs a lot of people have had) and I'll reinstall it when I sell the car. |
|||
|
|

|
|
|
#8 | ||
|
2003 BA XR8
Join Date: Jan 2007
Location: Sydney
Posts: 224
|
Nice work Fahim - that's a great little tutorial there, mate!
|
||
|
|

|
 |
| Thread Tools | |
| Display Modes | |
|
|