
|
|
 |
|
|
|
Welcome to the Australian Ford Forums forum. You are currently viewing our boards as a guest which gives you limited access to view most discussions and inserts advertising. By joining our free community you will have access to post topics, communicate privately with other members, respond to polls, upload content and access many other special features without post based advertising banners. Registration is simple and absolutely free so please, join our community today! If you have any problems with the registration process or your account login, please contact us. Please Note: All new registrations go through a manual approval queue to keep spammers out. This is checked twice each day so there will be a delay before your registration is activated. |
|
|||||||
 |
|
|
Thread Tools | Display Modes |
|
|
#1 | ||
|
Donating Member
 Join Date: Nov 2011
Location: Melbourne
Posts: 4,573
|
Thought i would start a thread on an issue i have dealing with on my wagon in the last few days.
On the way back from a long distance holiday, noticed the header tank was empty. Looked under the car and noticed a rapid coolant leak coming from towards the back of the motor. Credit to the car and the bullet proof AU engine, car got us home fine after a couple of water top up stops, which we would have made anyway. Once home i thought I'd get underneath the car, hoping this leak is as simple as a hose or a water tap crack, the leak is very rapid, it drops lots of water in very short time, here is what i found. 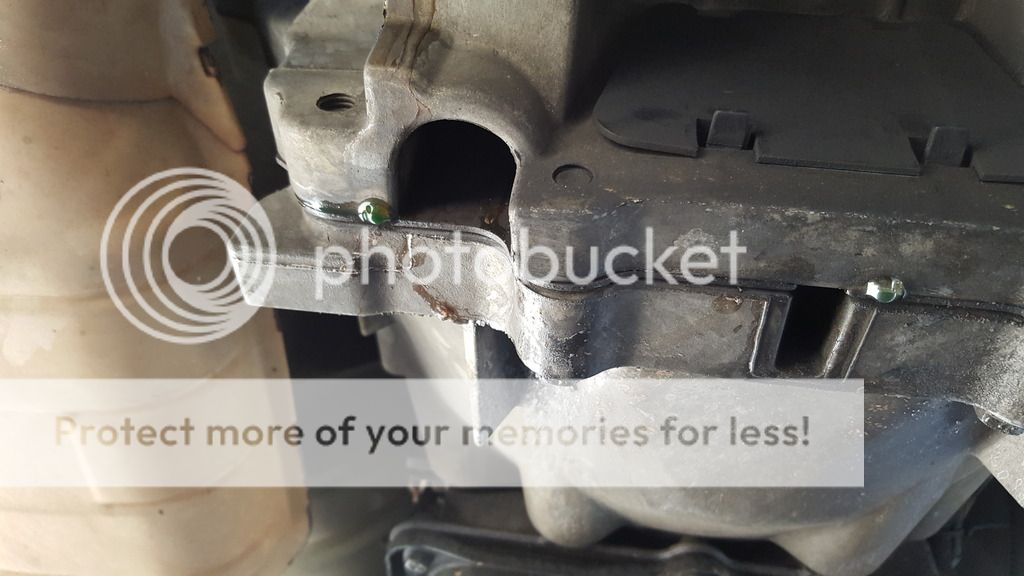 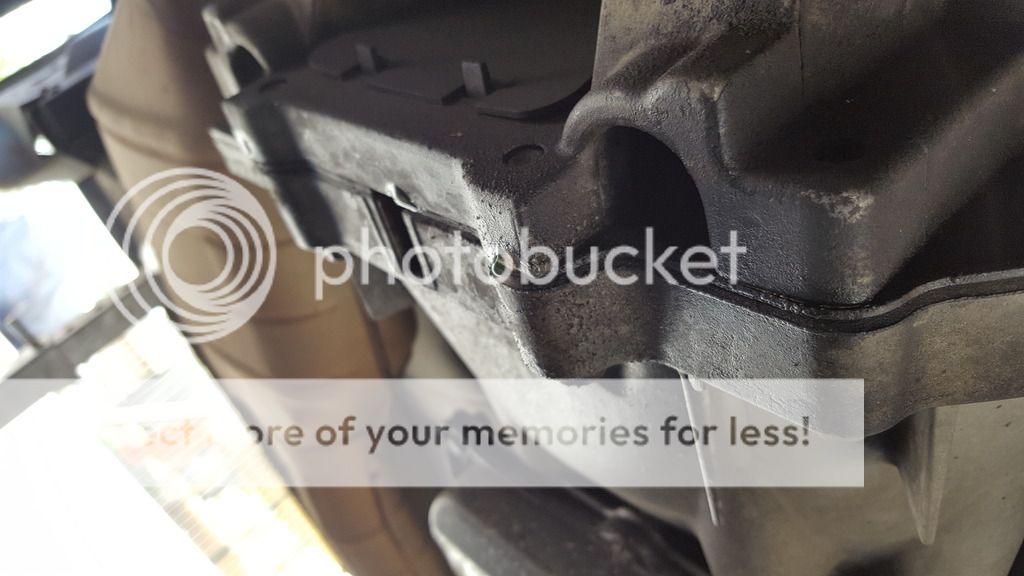 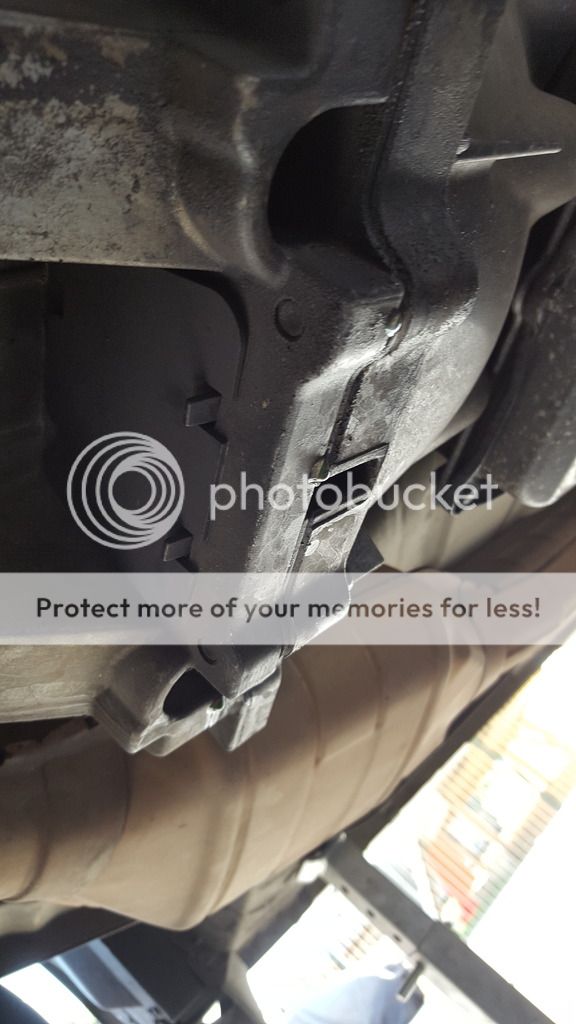 Just in the 5 minutes i had the car up on hoist it leaked this much water. 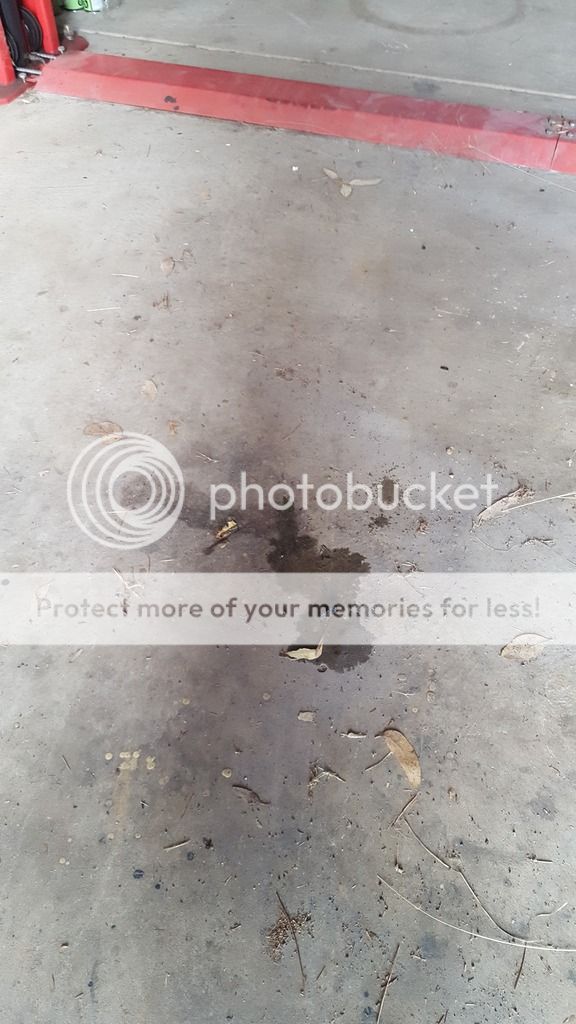 Leak was coming from between rear of engine and transmission bellhousing, this indicated it is most likely coming from the welch plug at the back of the motor (bad spot for welch plug Ford) which can only be accessed once auto and fly wheel are removed. Bugger. Here is the welch plug in question shown on a motor out of a car. It's hiding behind the Ford Engine operations sticker. 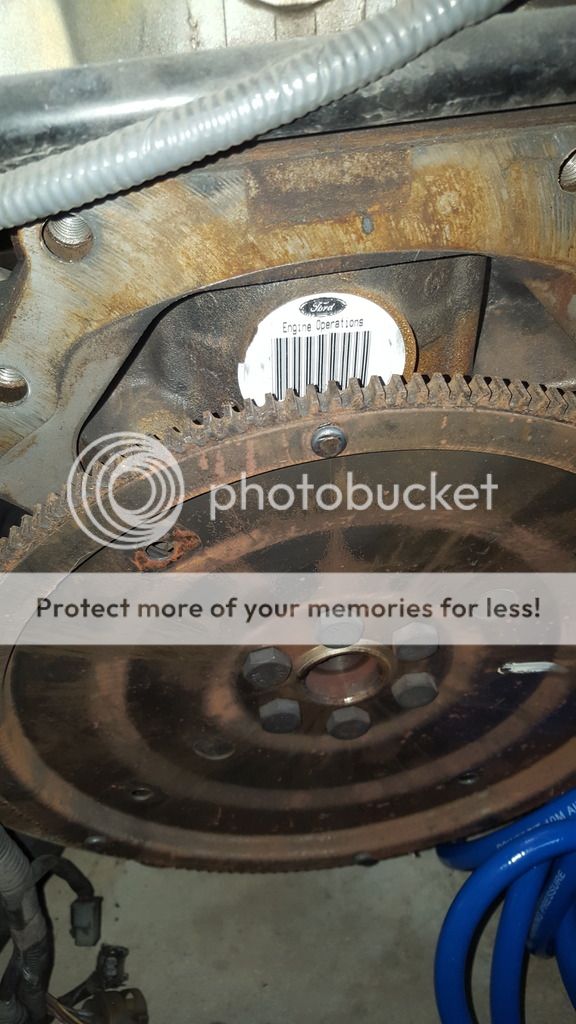 Car has close to 400k kms so i contemplated replacing the whole motor while I'm at it but decided to persevere with this one. So the job was on. Tailshaft out. I marked it with a texta so i can put it on same way. 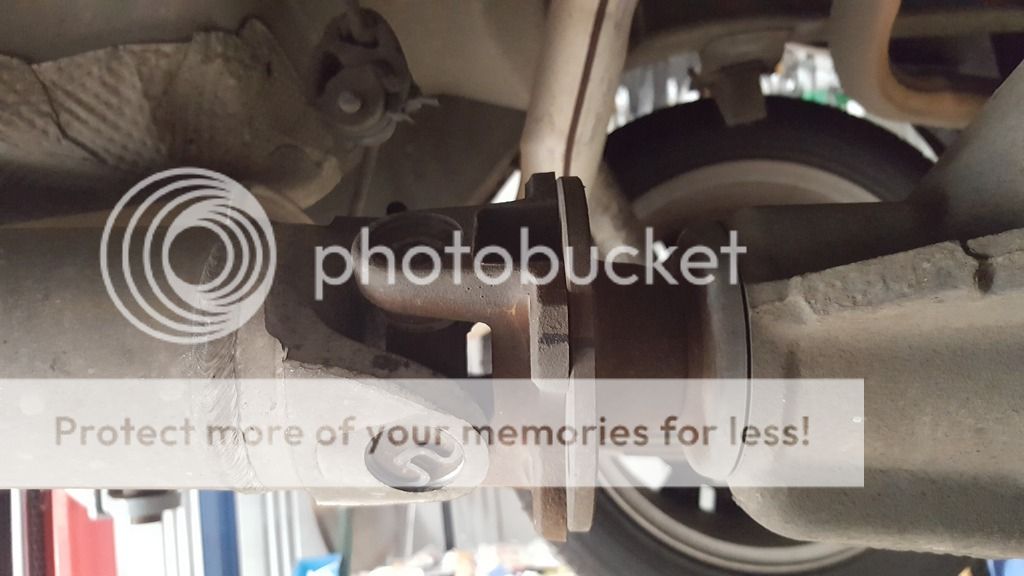 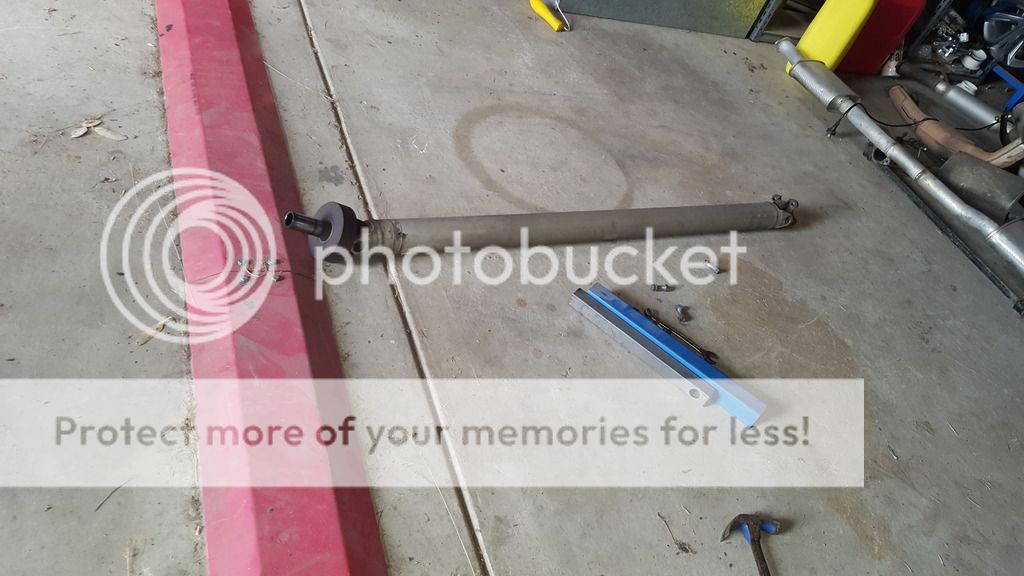 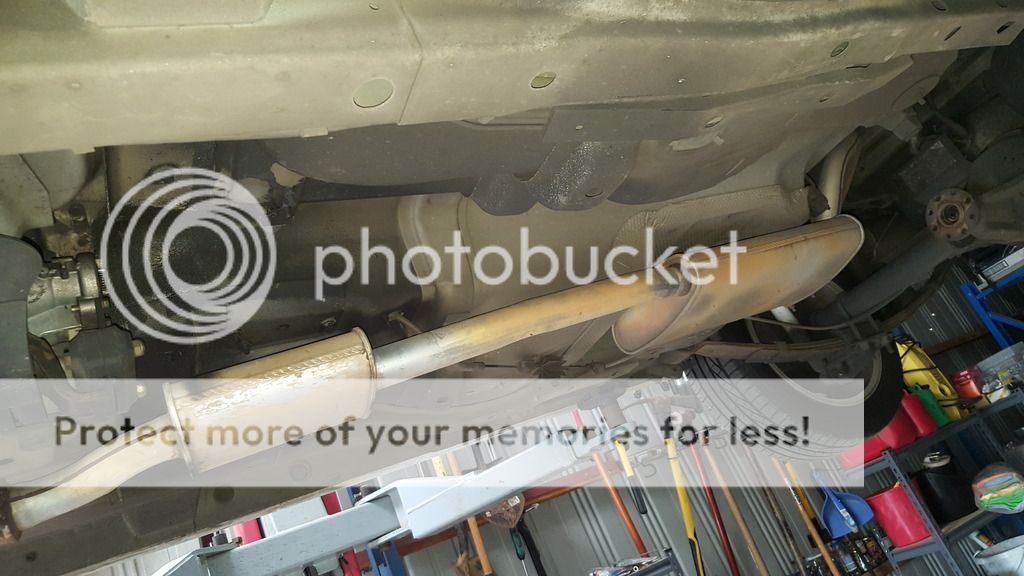 Next the exhaust needs to get out of the way to remove the auto. There is no need to remove whole exhaust, just factory Cat. Then get exhaust out of the way. Supporting the exhaust 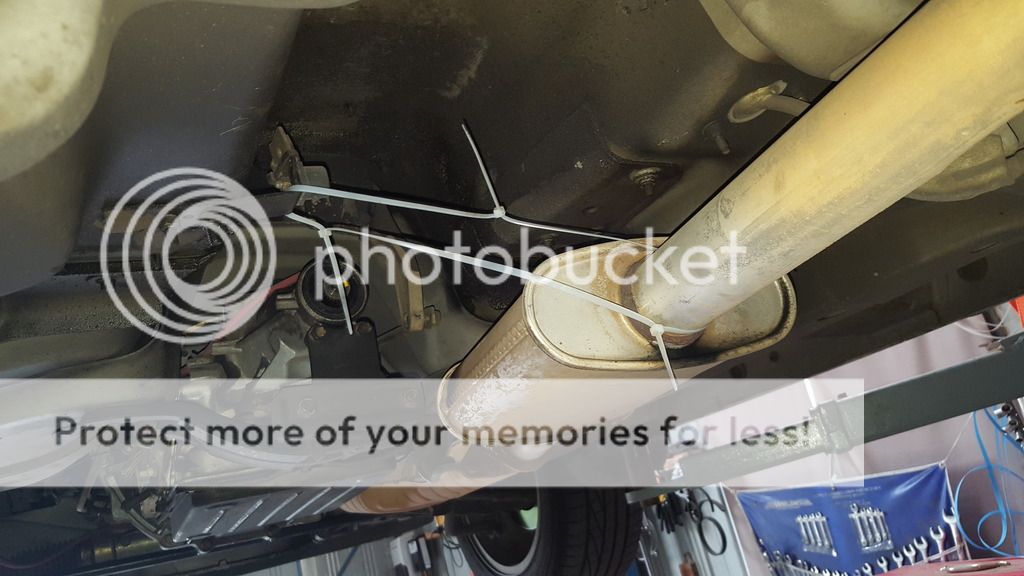 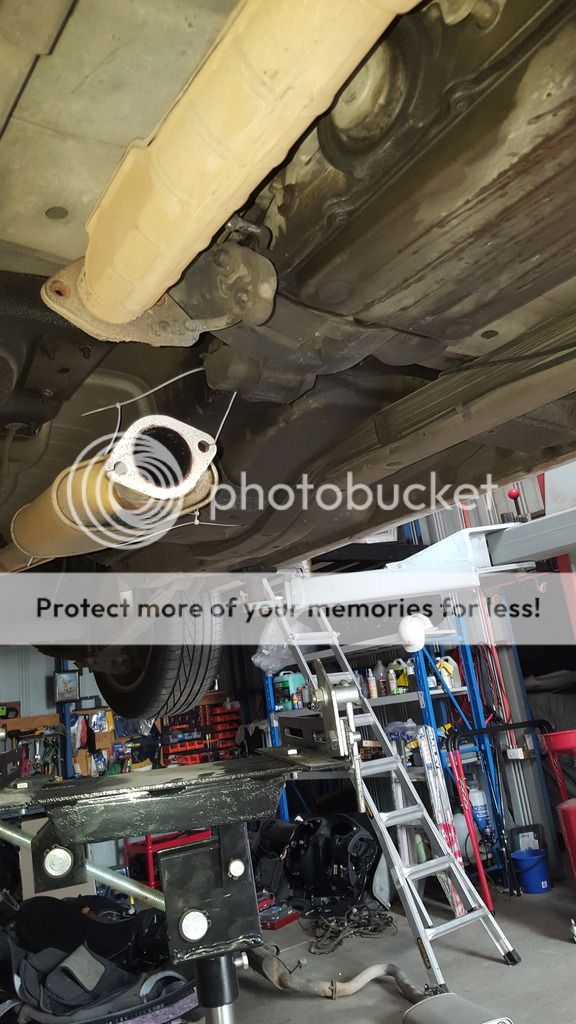 Cat removed 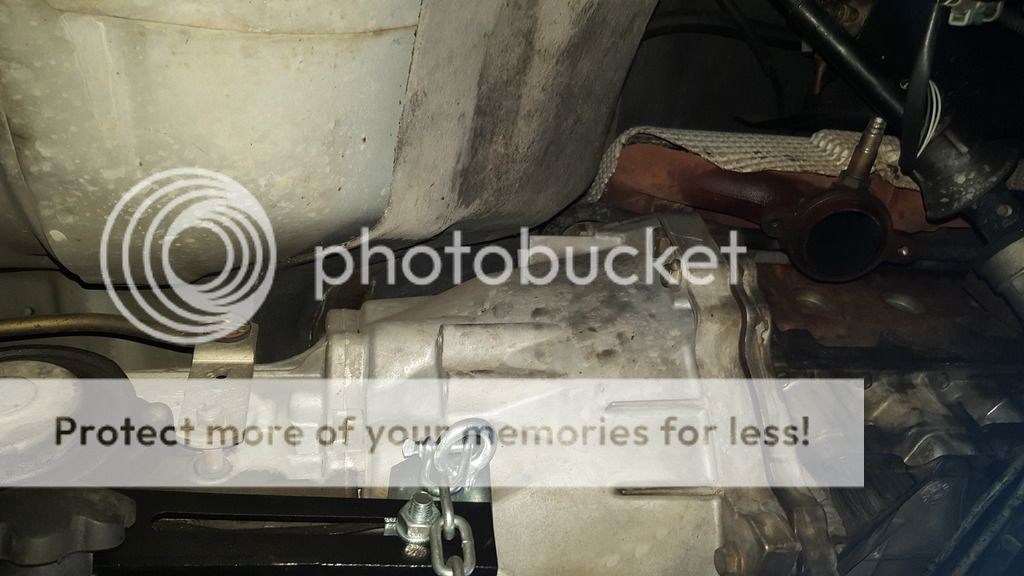 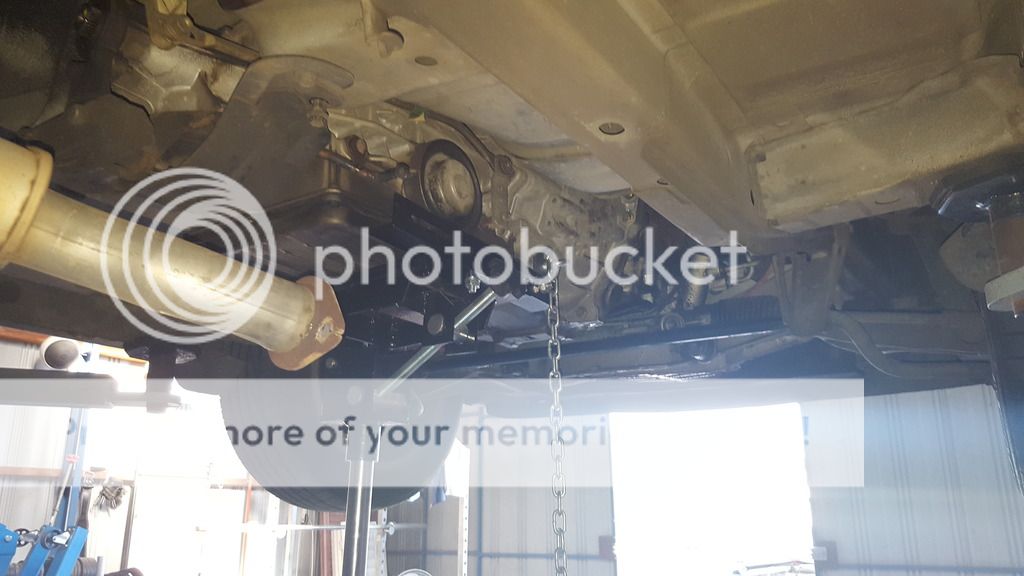 Transmission mount bolts undone. At this stage it's wise to place a jack under the auto to support it. 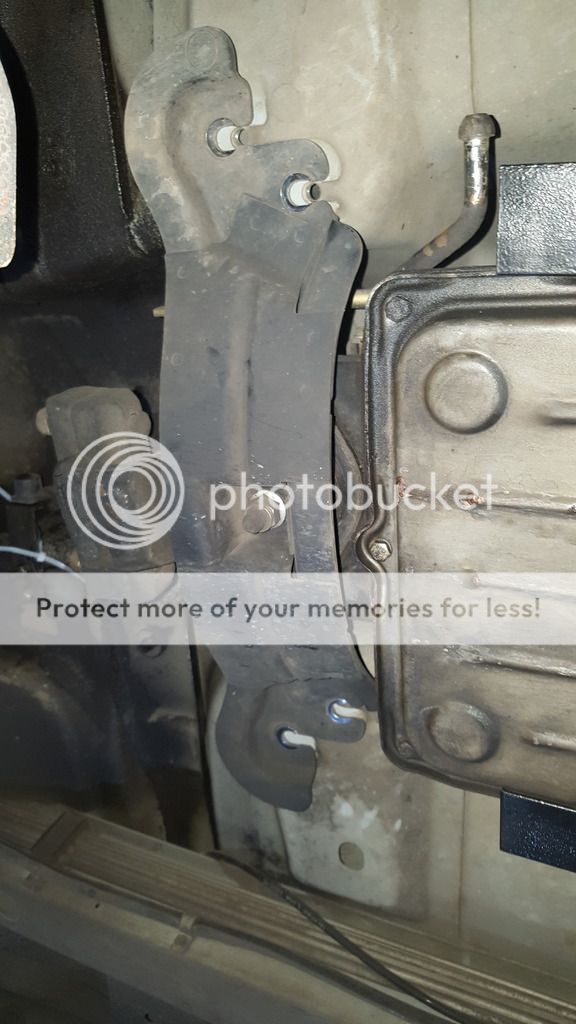 Transmission lines and electricals undone 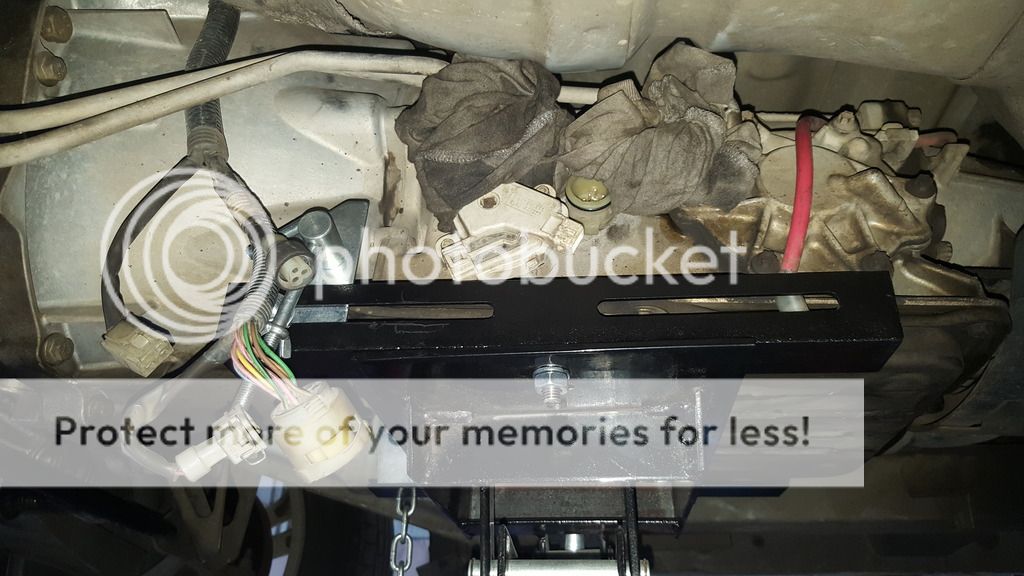 Undo T bar linkage rod 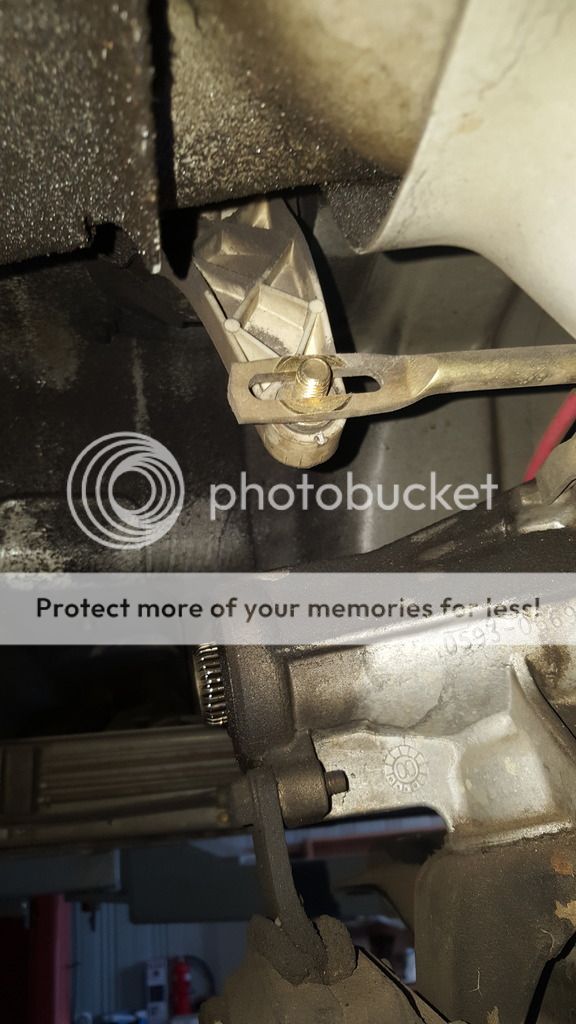 Lower the jack gently to drop the rear of the auto and expose top bellhousing 19mm bolts 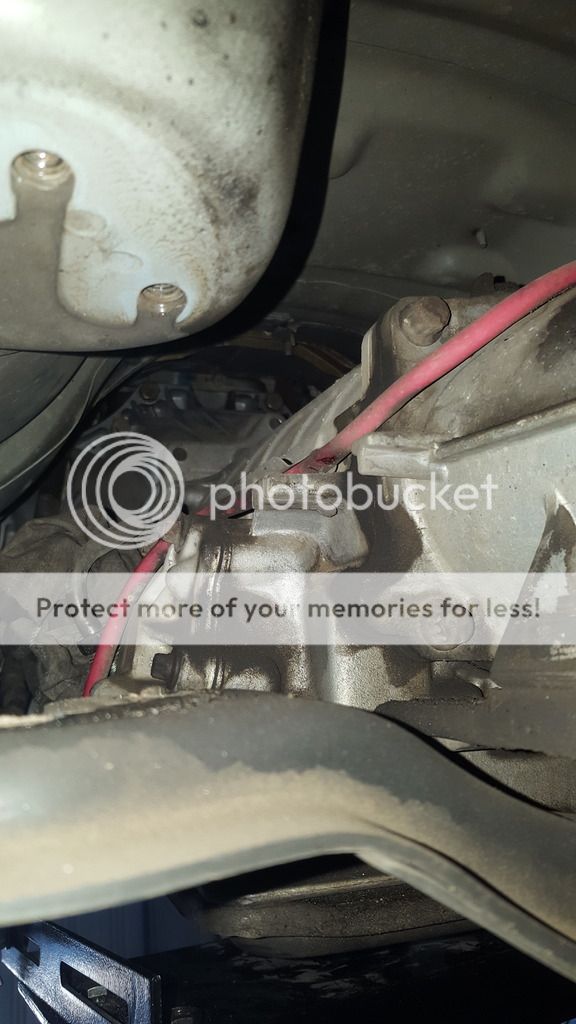 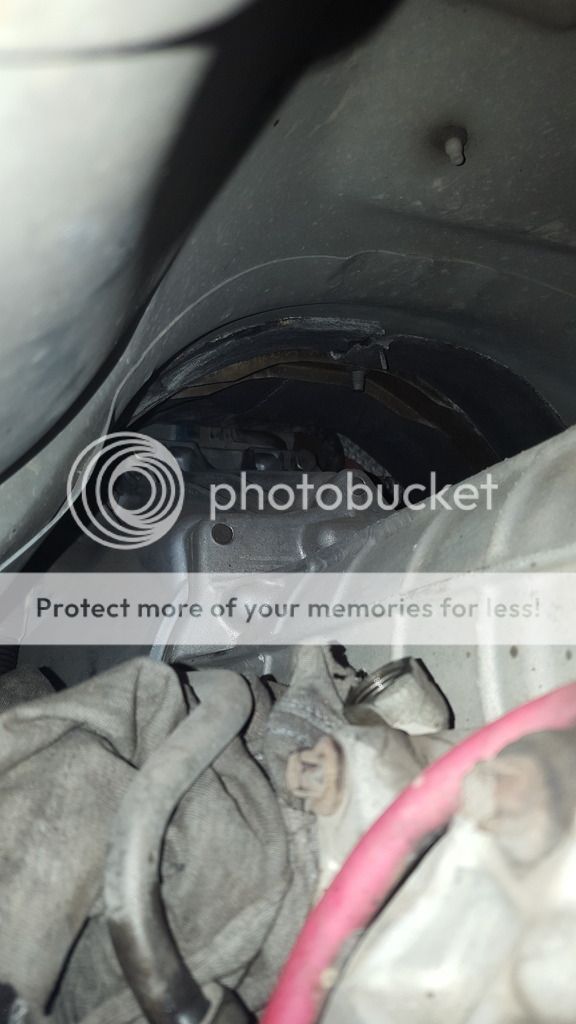 Also place an oil pan underneath the rear of the auto in case transmission fluid drains out of the rear once it's lowered 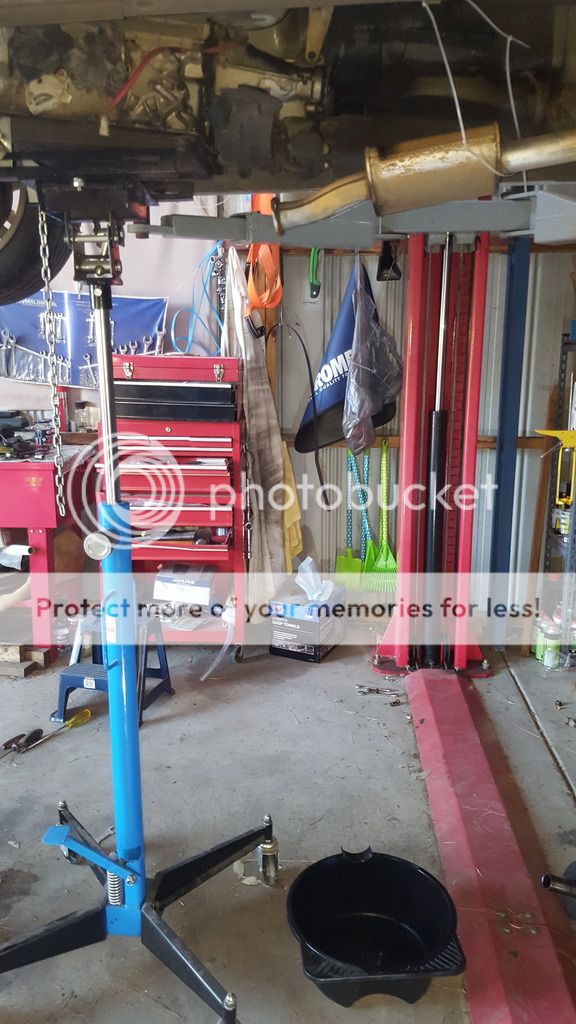 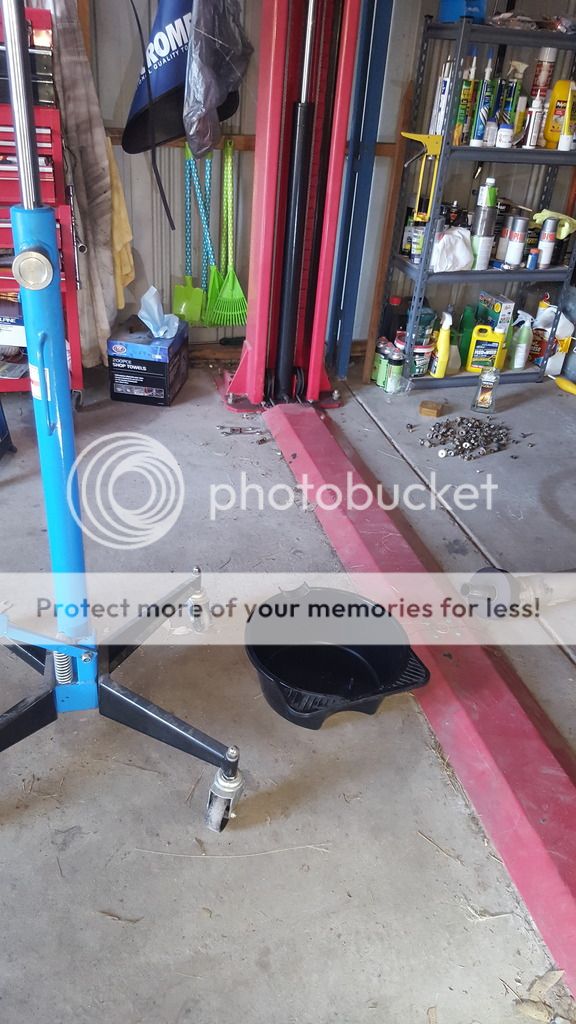 This is what i use to access those top 19mm bolts. The uni jointed socket is very handy. 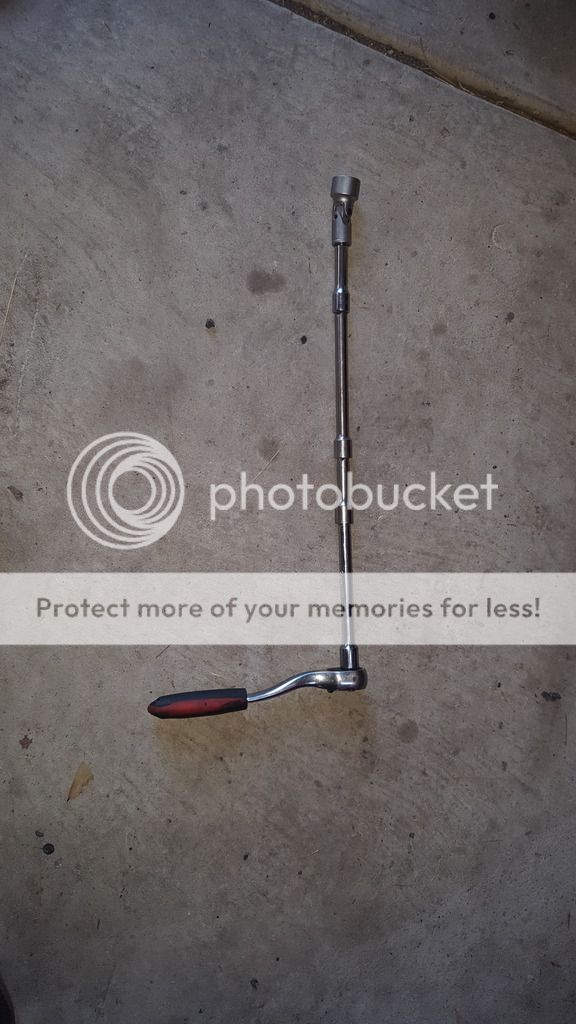 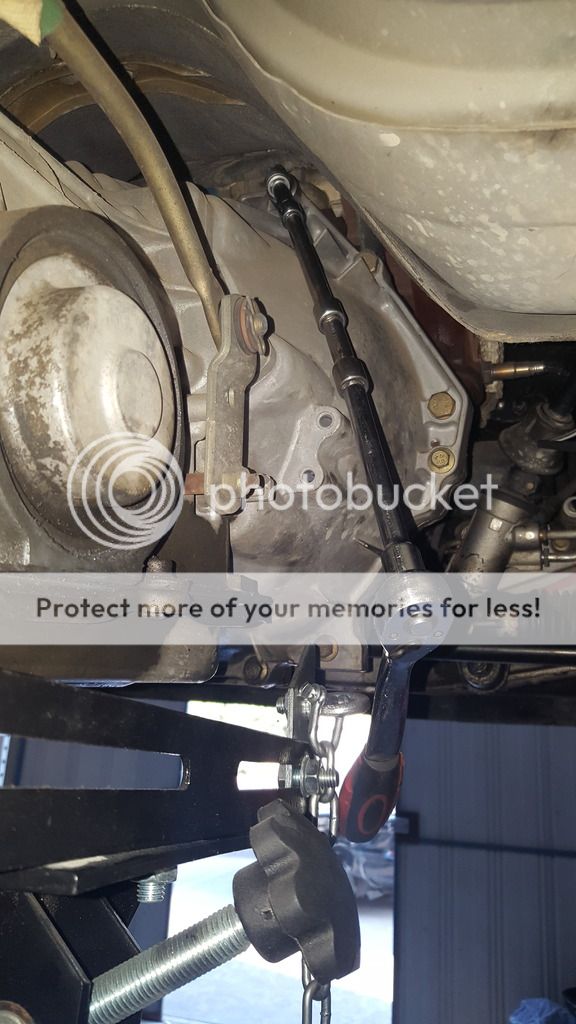 All top bolts are out, only ones left are bottom 13mm ones which are easy to access as well as torque converter bolts. Raise the transmission so that it's level again to take the pressure off remaing bolts. 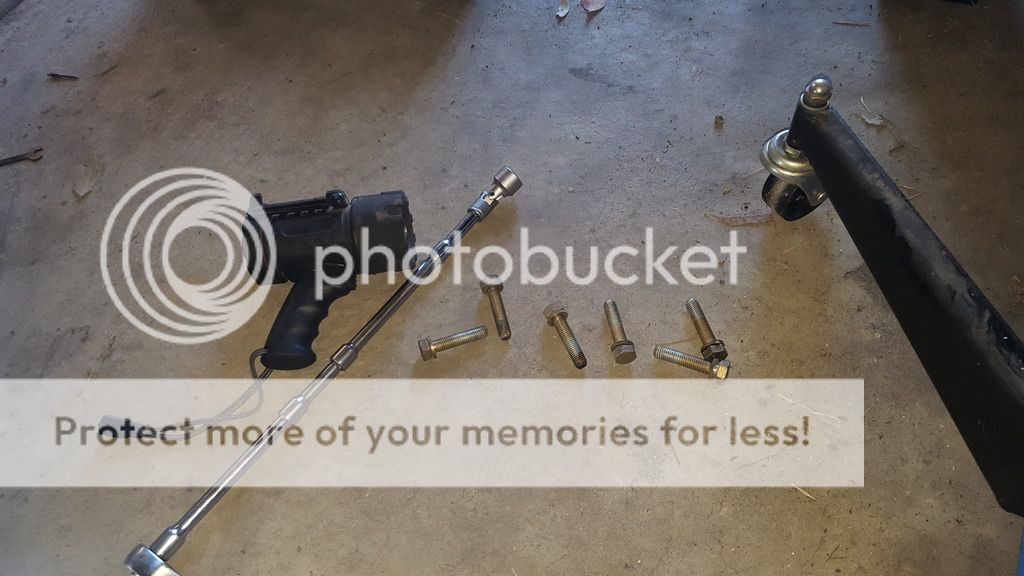 Next the torque converter to flywheel bolts. Remove inspection cover on back of engine and you're greeted with this. If not rotate the front of the engine with 22mm socket until you see one of the bolts. 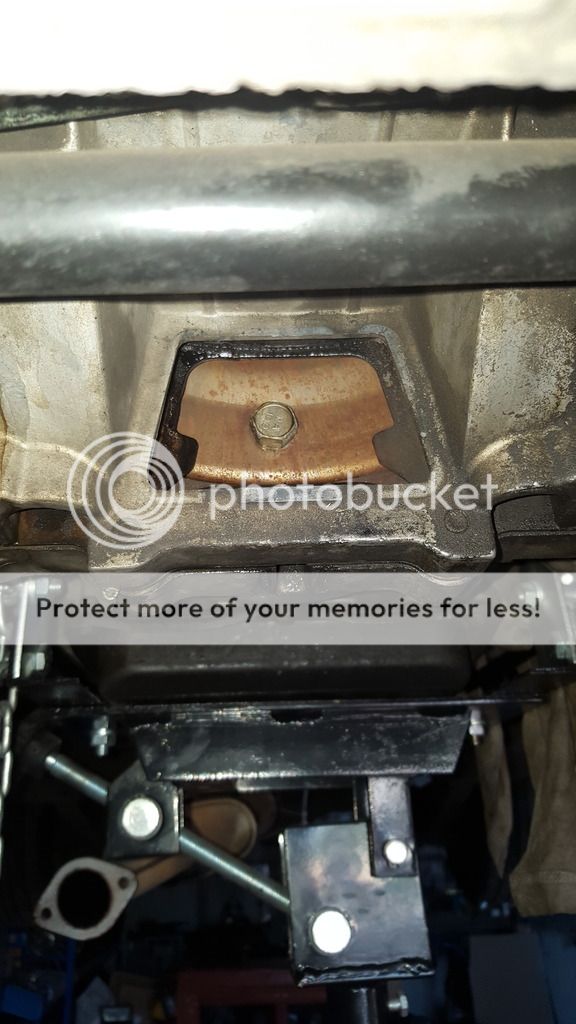 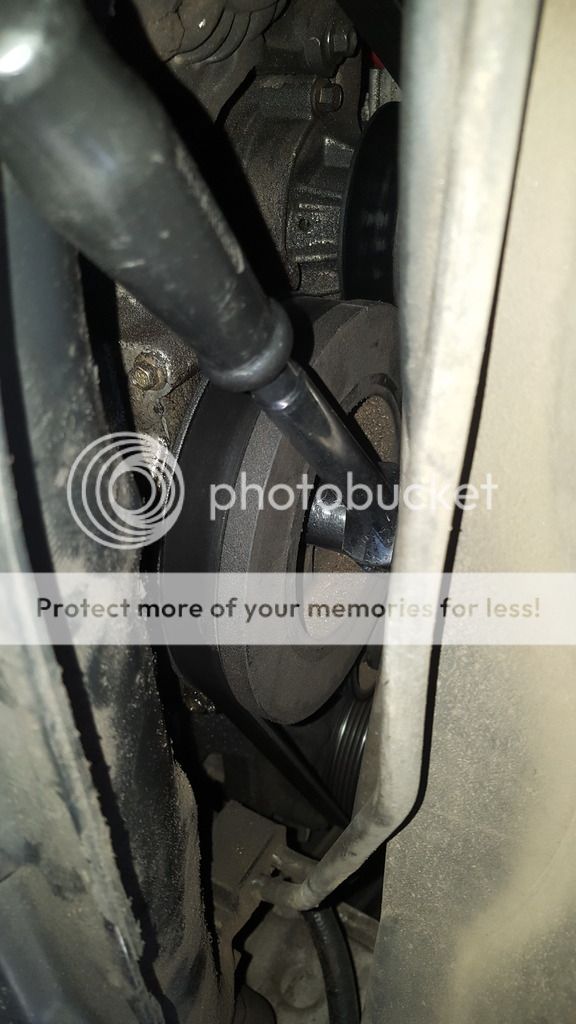 There are four torque converter bolts, rotate engine to access them and undo one by one. Next the bottom bellhousing 13mm bolts 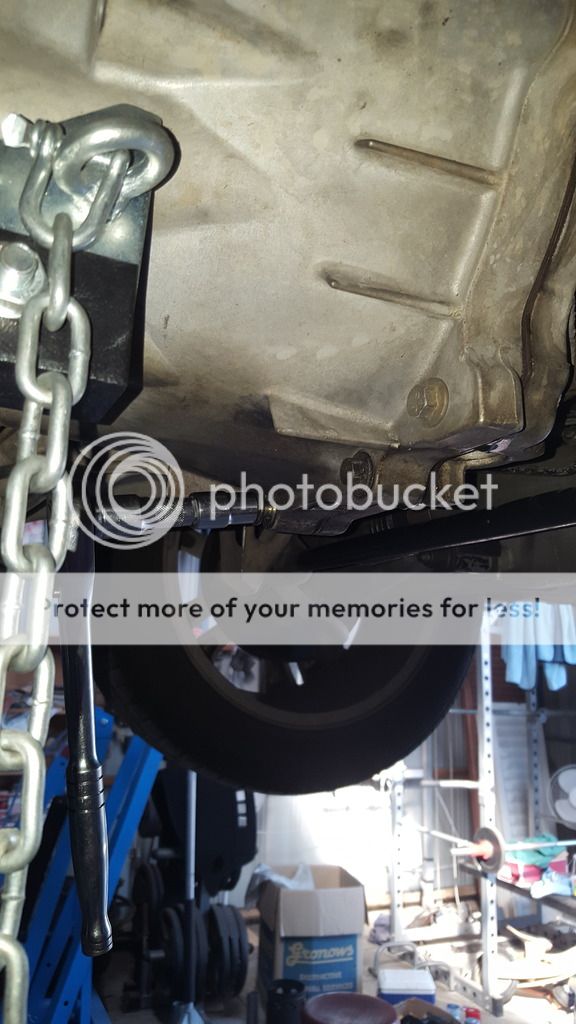 Now all bolts securing engine to transmission are removed, it's a matter of man handling the auto to separate from the engine. 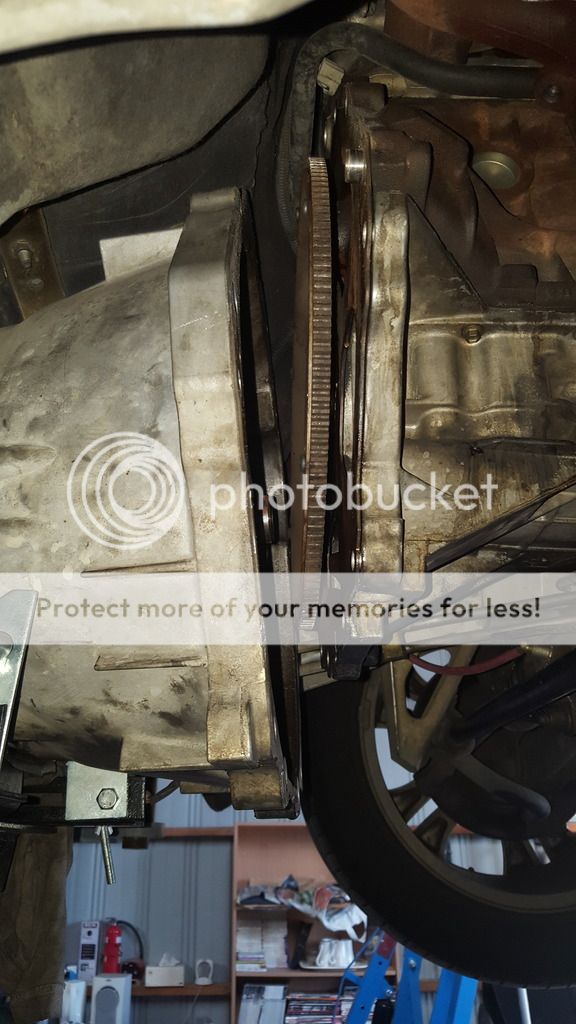 Lower the jack with the auto on it and move it to the side. 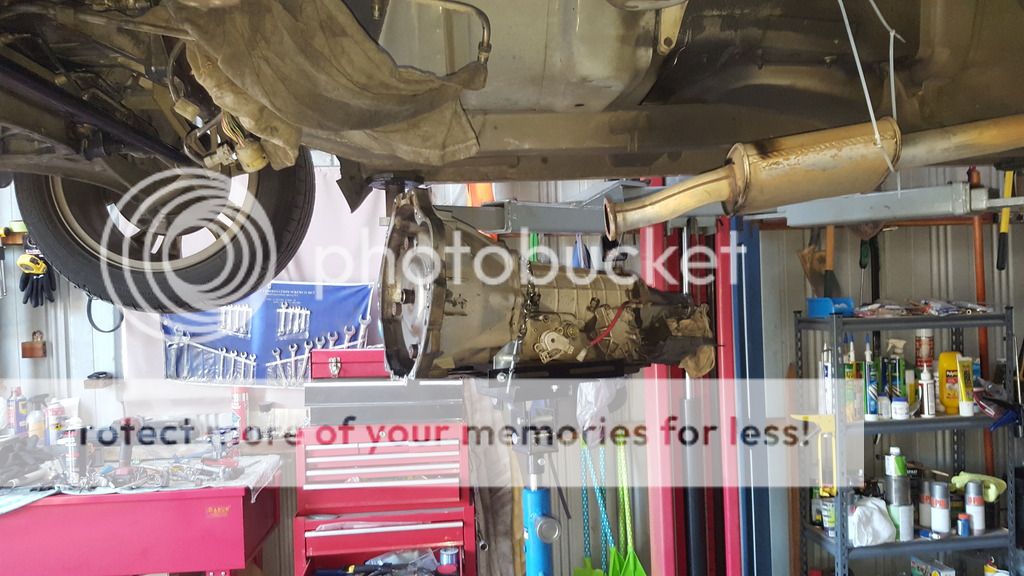 Next to remove is the flywheel, six bolts are easily undone. 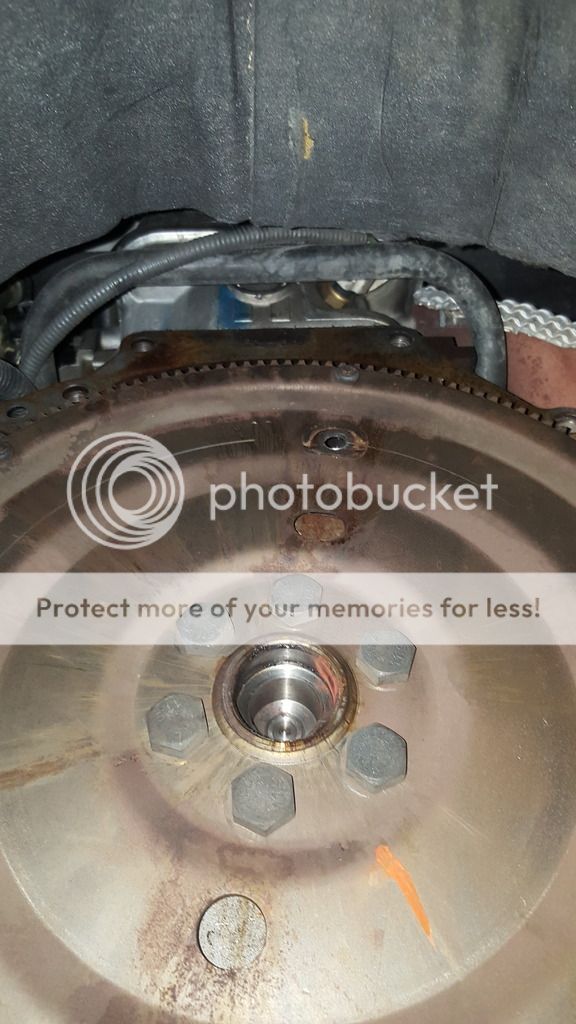 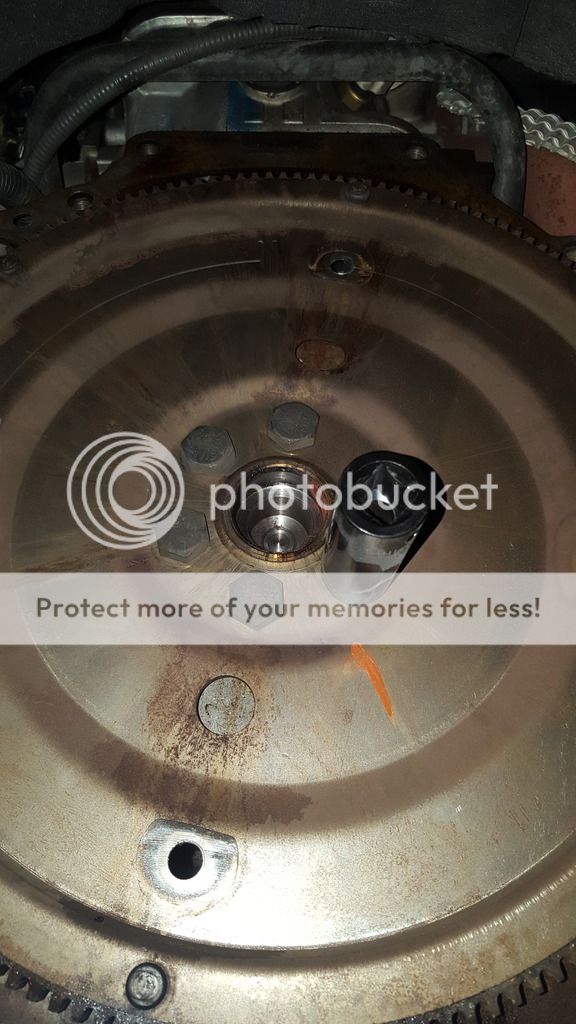 And the problem is now exposed 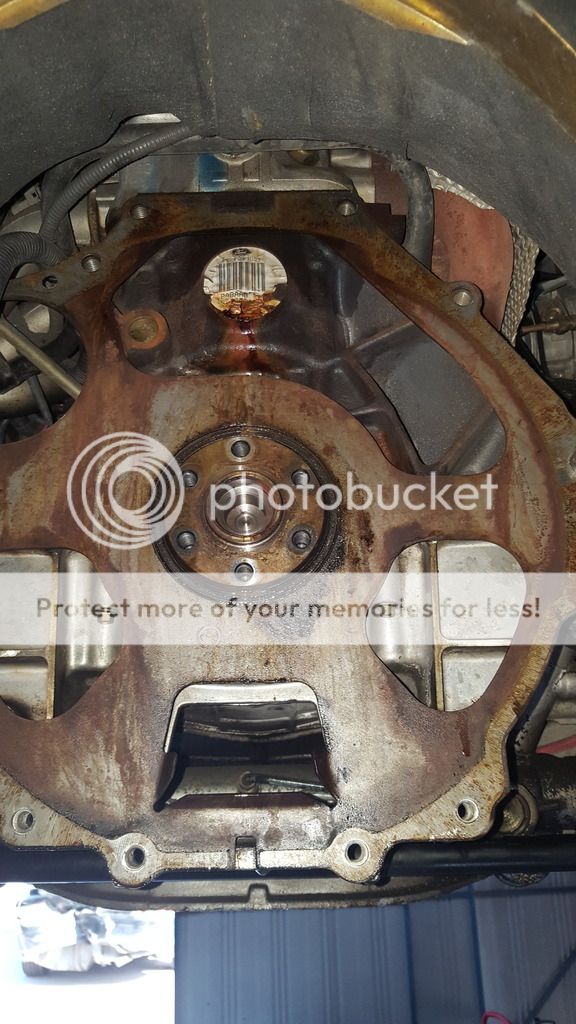 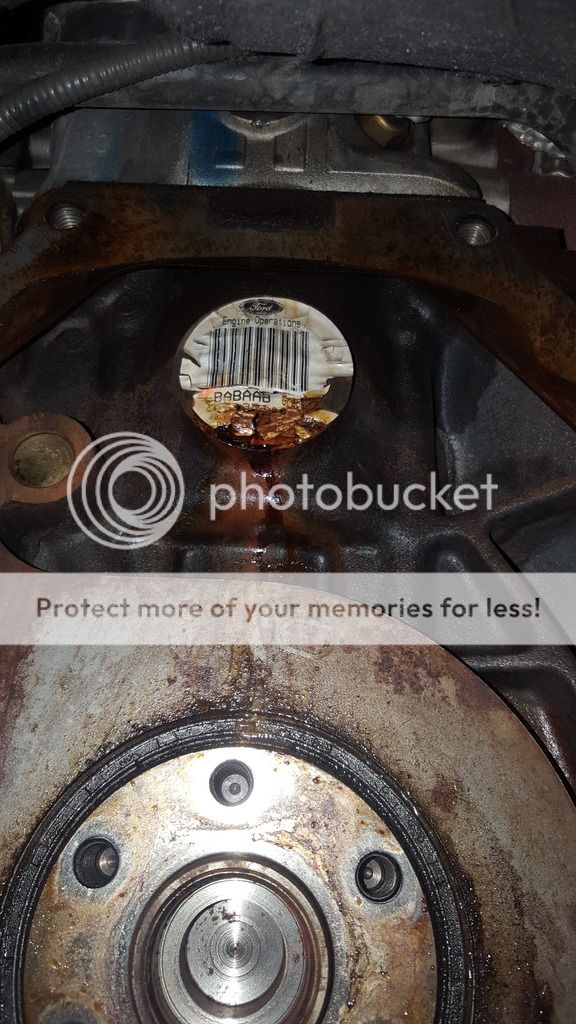 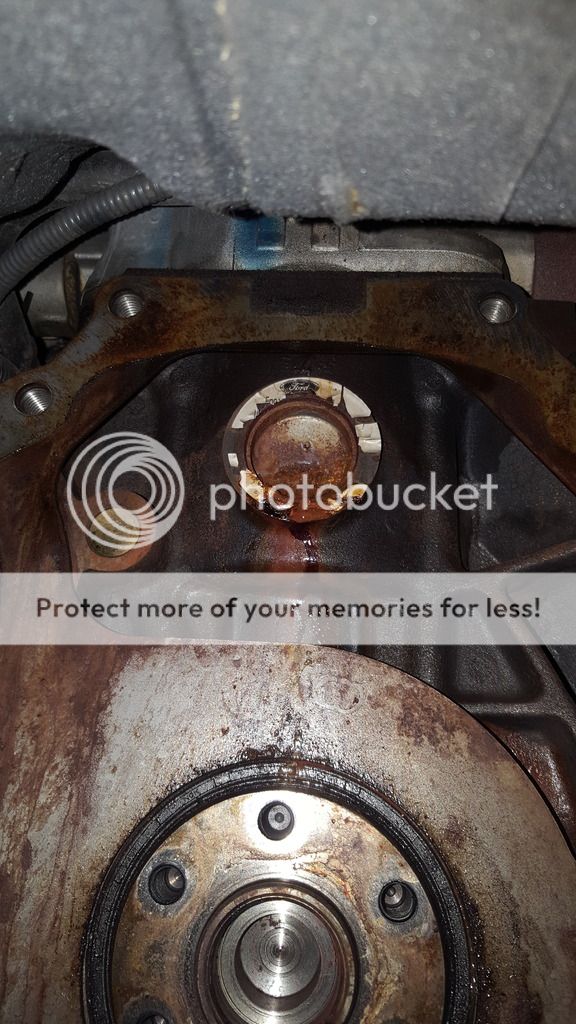 I knew removing the plug would involve getting a shower with coolant and i didnt want to drain the whole system yet so i put a hole in it to drain first 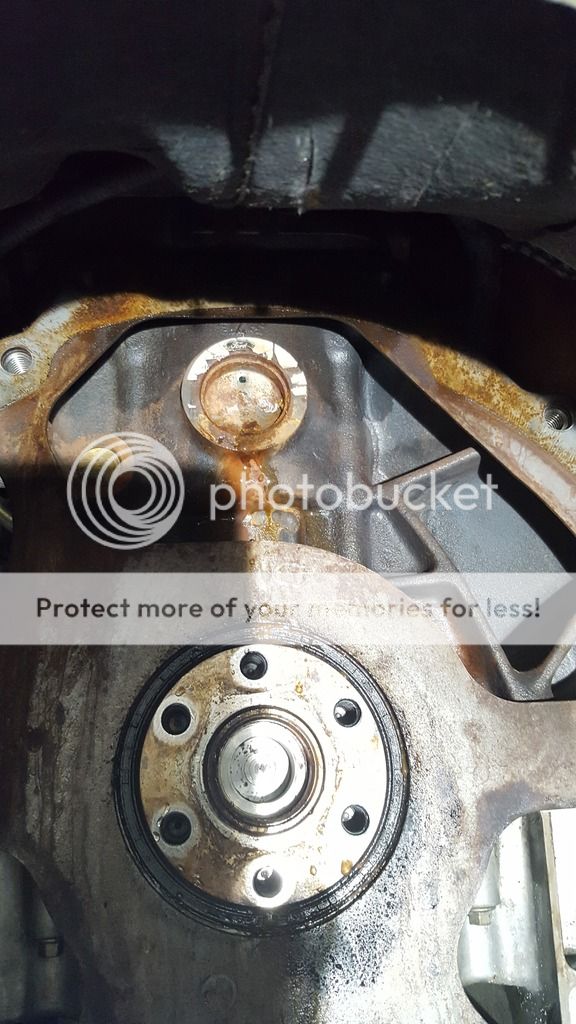 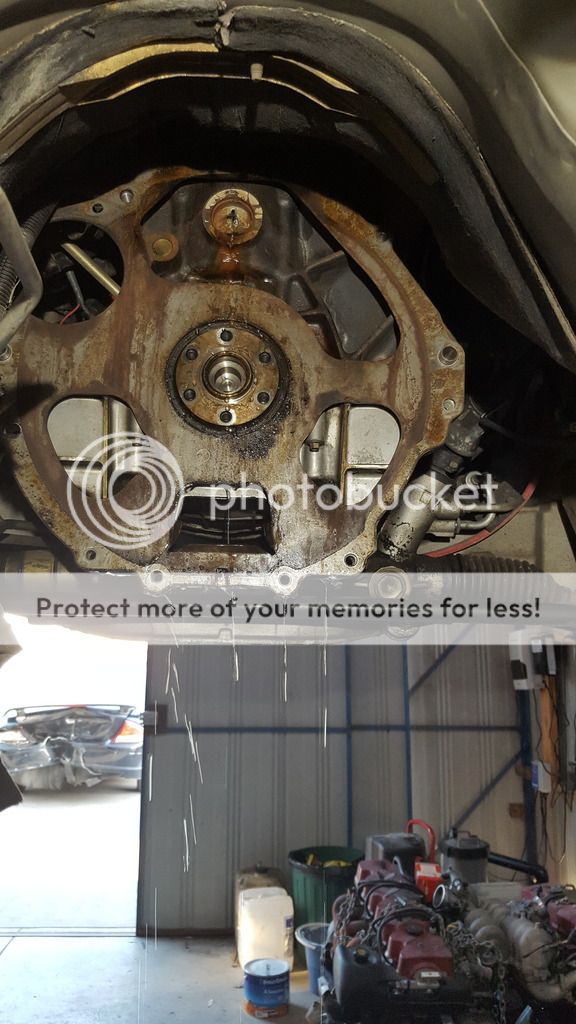 Then hit one side of it with a hammer and pulled it out. 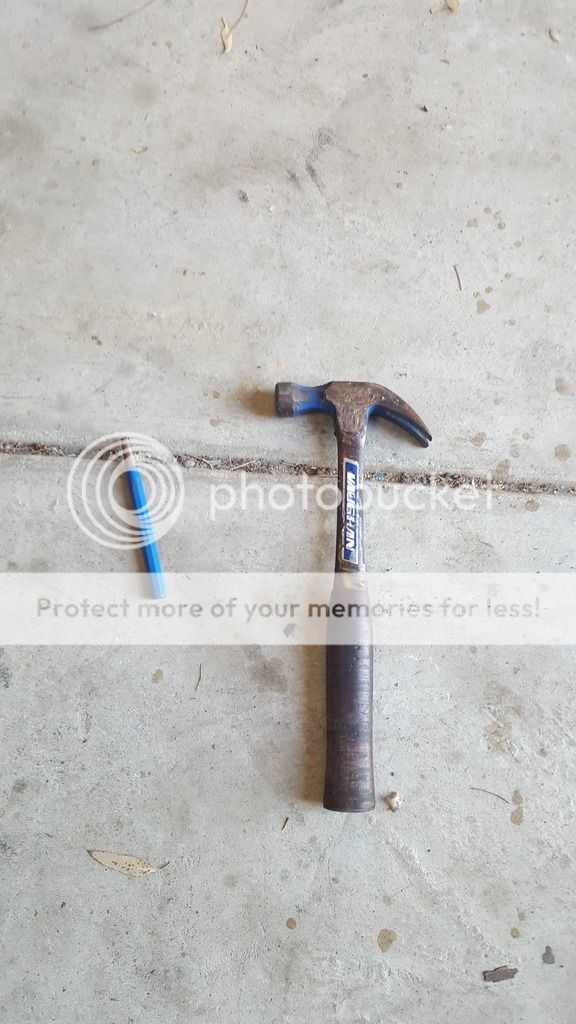 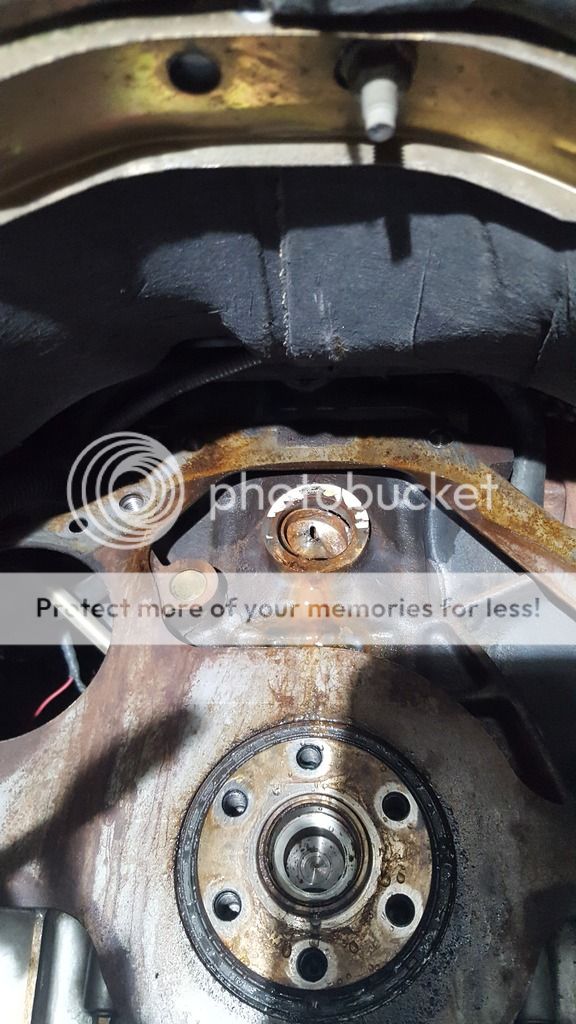 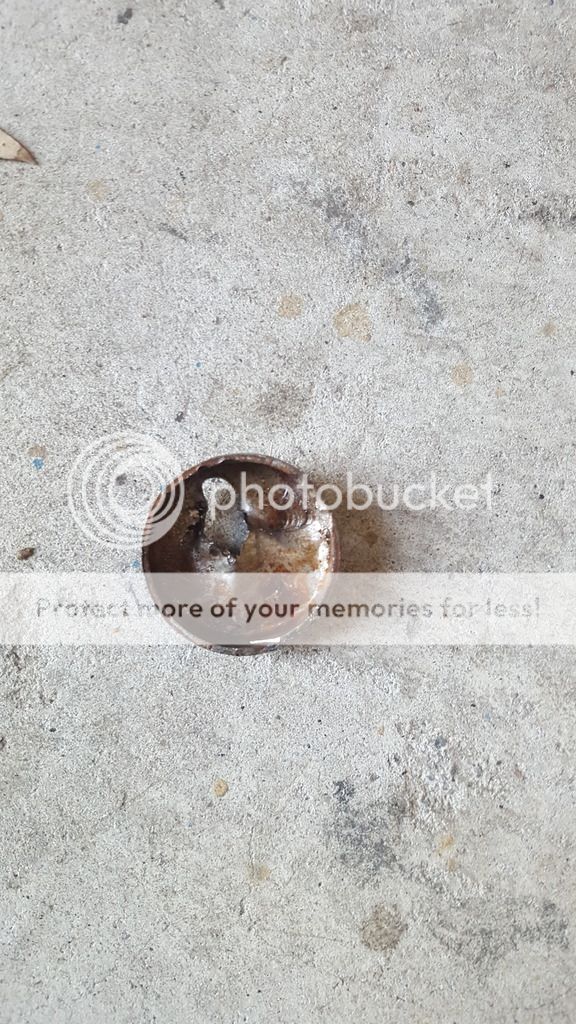 You can see all the pinholes in it caused by corrosion 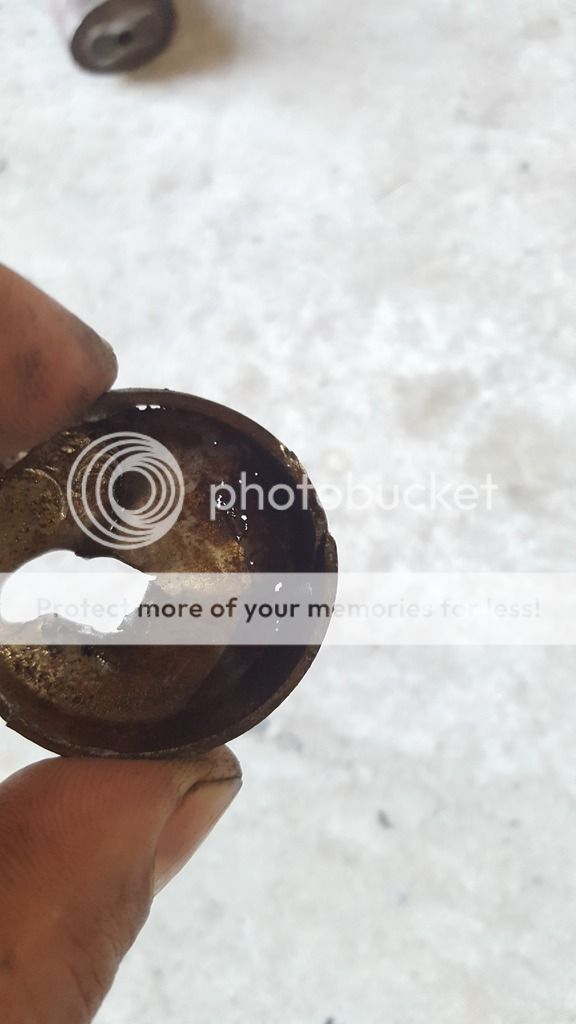 Lots of cleaning up to do 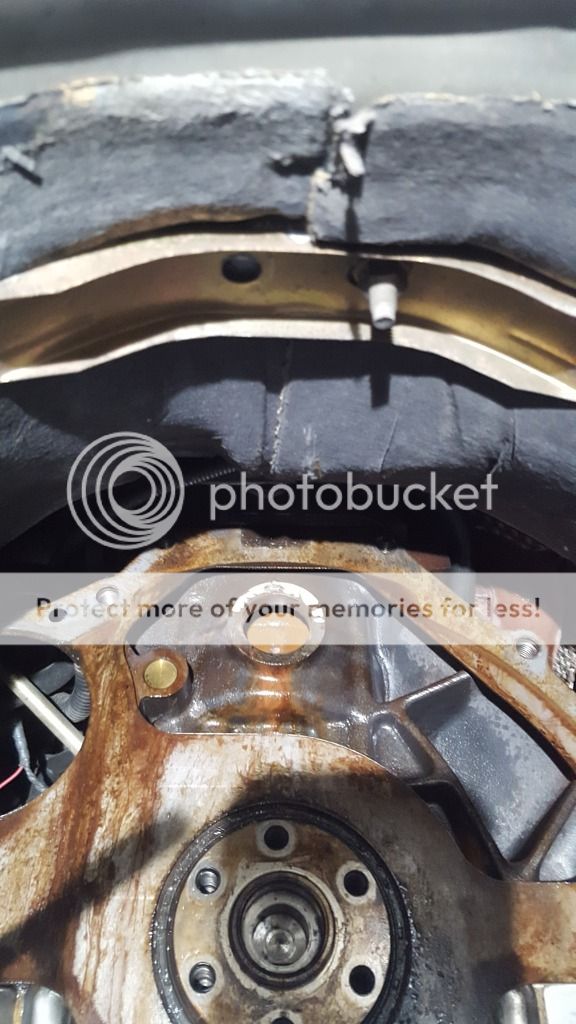 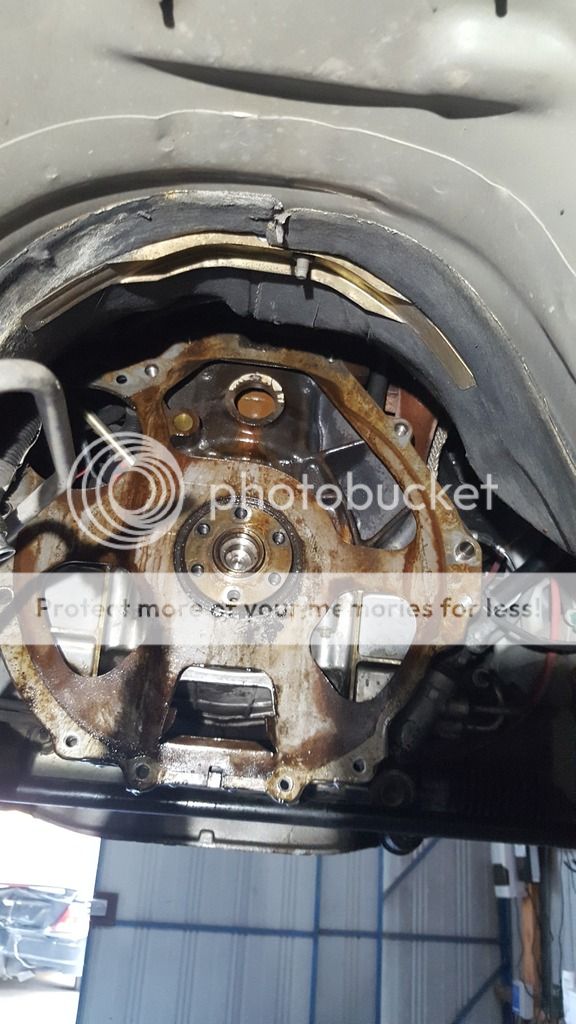 More on next post |
||
|
|

|
| 10 users like this post: |
|
|
#3 | ||
|
Seasoned One
Join Date: Apr 2015
Location: Toowoomba
Posts: 151
|
plus 1 !, did well to even find it
__________________
AC Cobra 351w G6E Turbo FG mk 2 2007 Territory 1967 xr Falcon ute 289 1966 xr Fairmont 289 
|
||
|
|

|
| This user likes this post: |
|
|
#4 | ||
|
Au Falcon = Mr Reliable
Join Date: Sep 2009
Location: North West Slopes & Plains NSW
Posts: 4,076
|
Thanks heaps for this awesome tech write up Sam, very much appreciated!!! It will definitely help me & others out whenever the time comes lol, big kudos to you mate!!!
cheer's, Maka
__________________
Ford AU Series Magazine Scans Here - www.fordforums.com.au/photos/index.php?cat=2792 Proud owner of a optioned keeper S1 Tickford Falcon AU XR6 VCT - "it's actually a better-balanced car than the XR8, goes almost as hard and uses about two-thirds of the fuel" (Drive.com 2007) |
||
|
|

|
|
|
#5 | ||
|
Donating Member
 Join Date: Nov 2011
Location: Melbourne
Posts: 4,573
|
So after copious amount of degreaser and WD40, the cleanup was complete
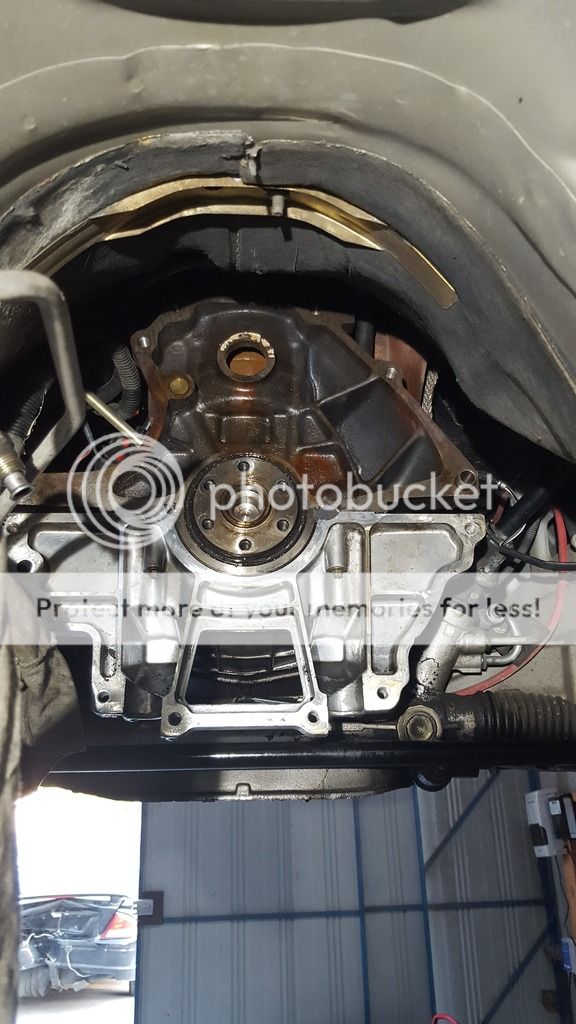 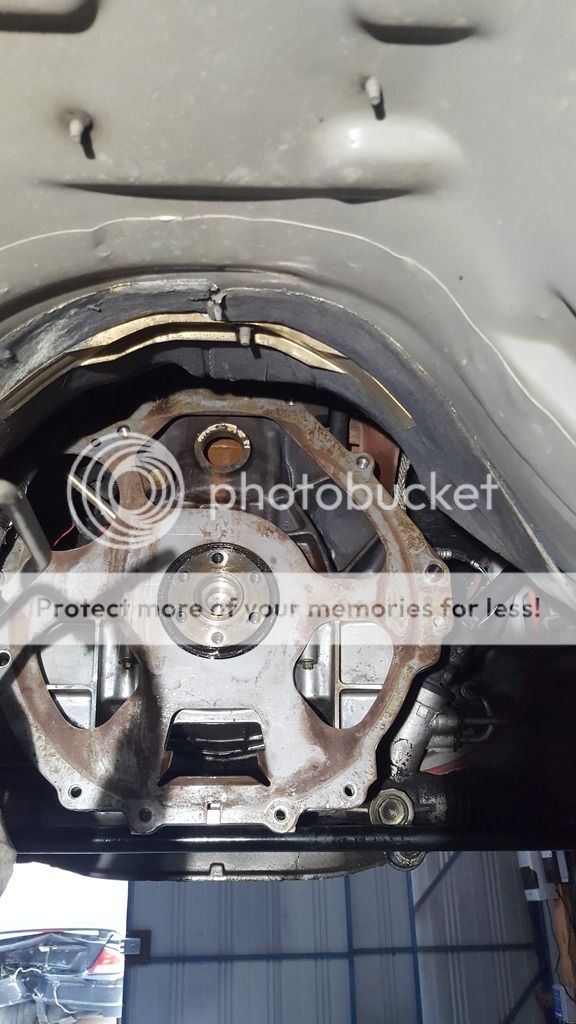 There was lots of metal swarf large and small inside the hole which i collected with a magnet and all was clean in there then i sanded the edges with some emery paper to make sure all is smooth 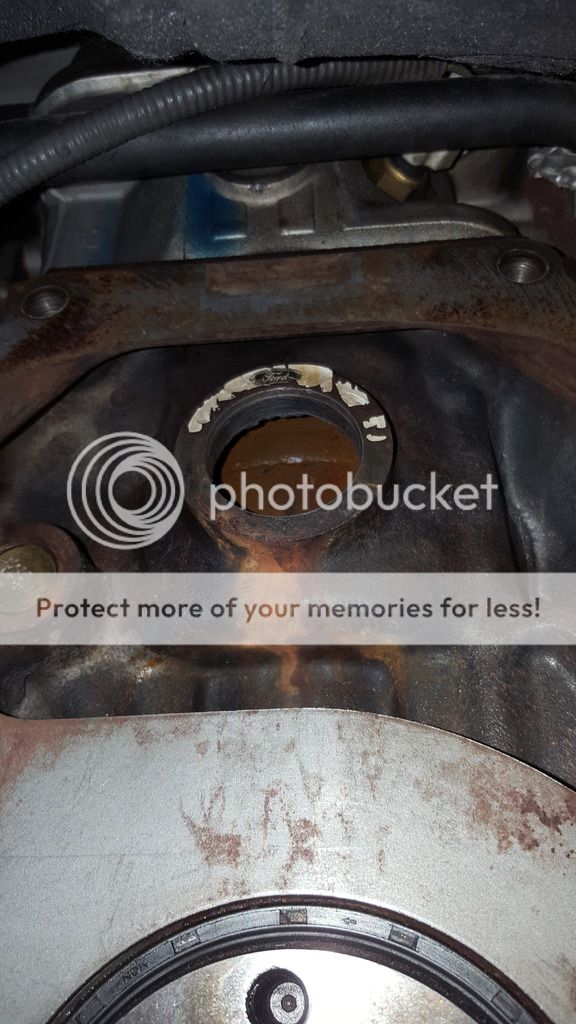 But there was still a little bit of water in there at the bottom of the hole and i wanted the sealant to be applied to surface free of water so i removed the bottom radiator hose to drain the engine 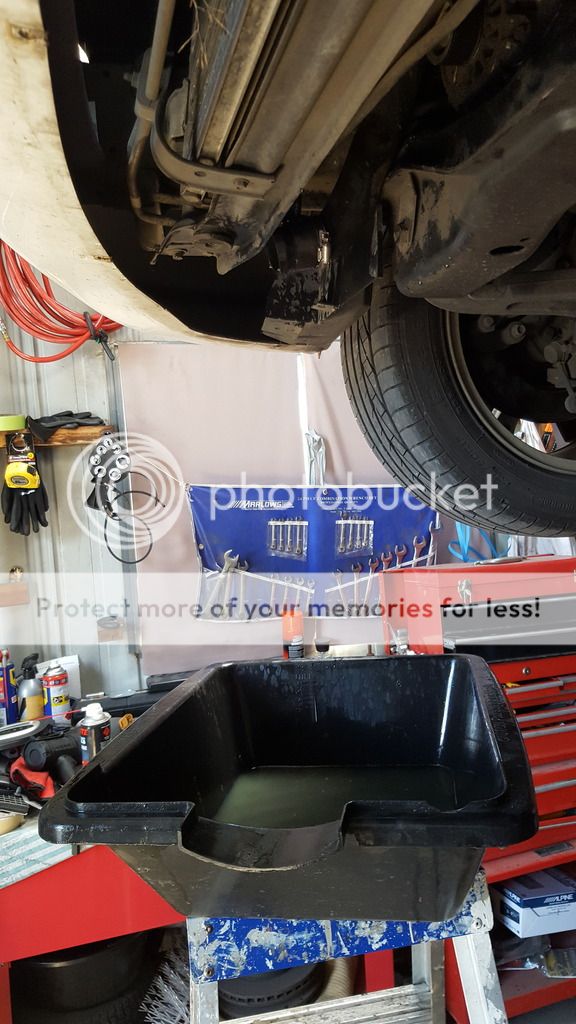 I then got the new plug (brass unlike Ford's rubbish steel) and made sure it's the same size 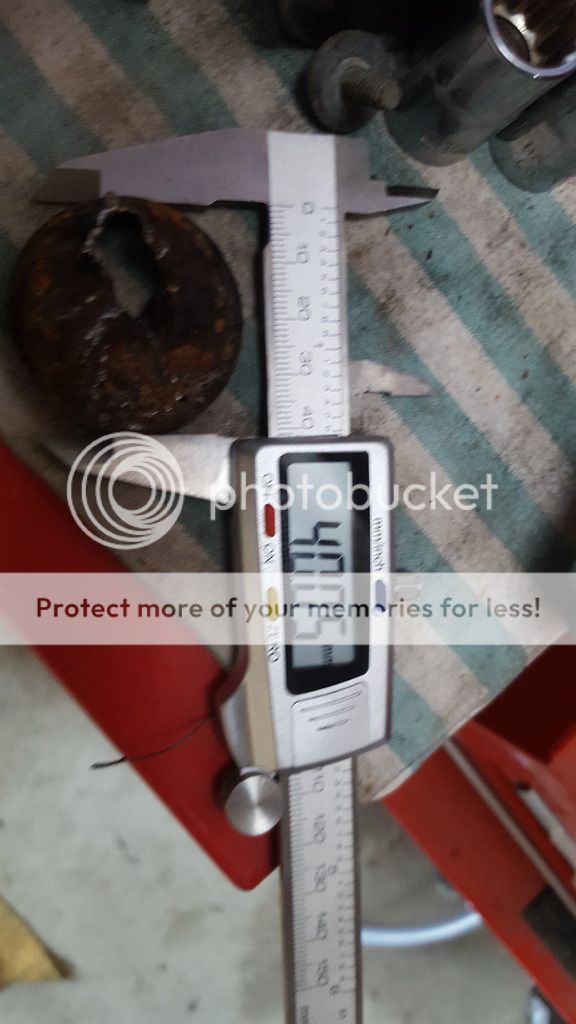 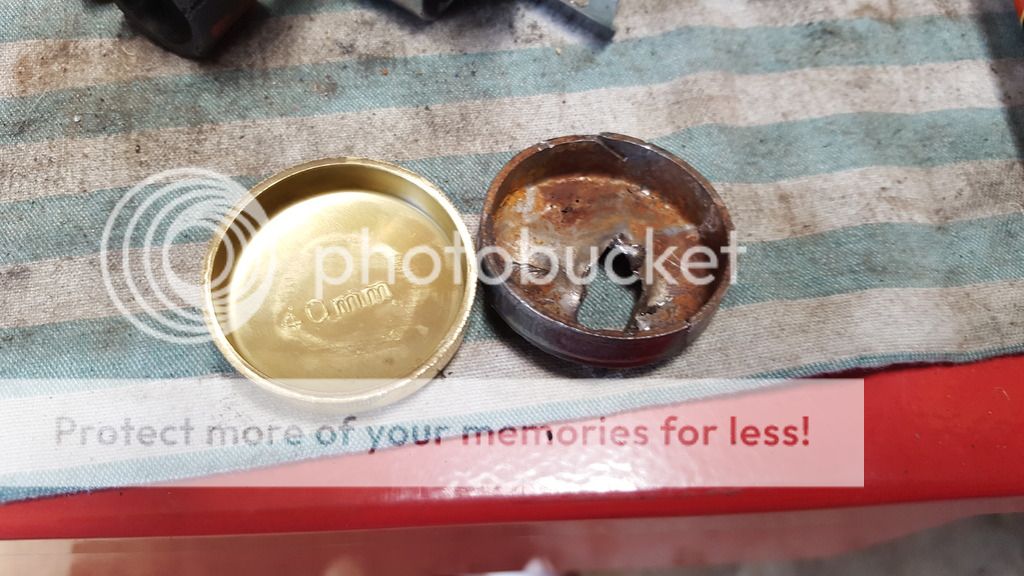 Best stuff to seal welch plugs 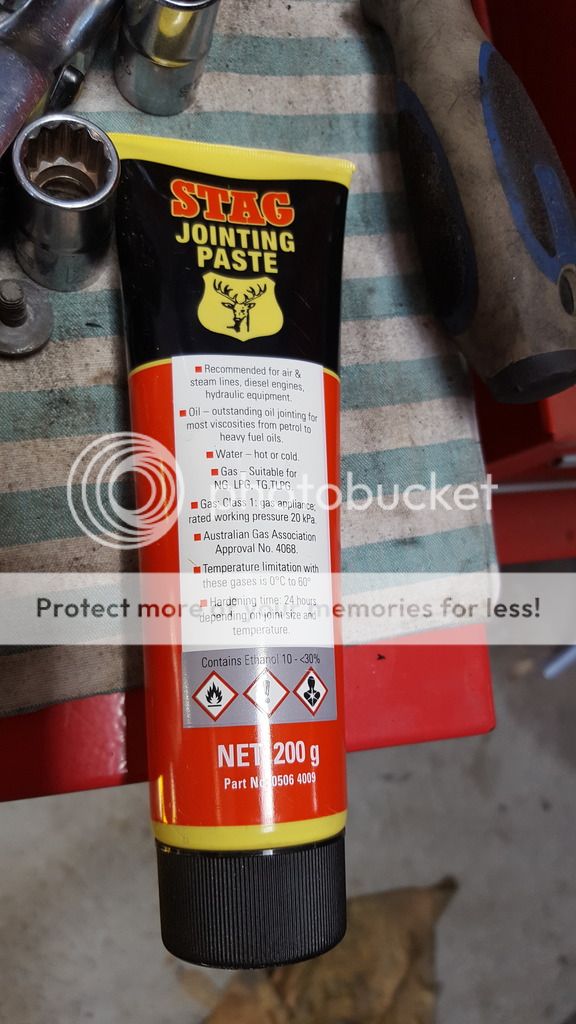 And installed 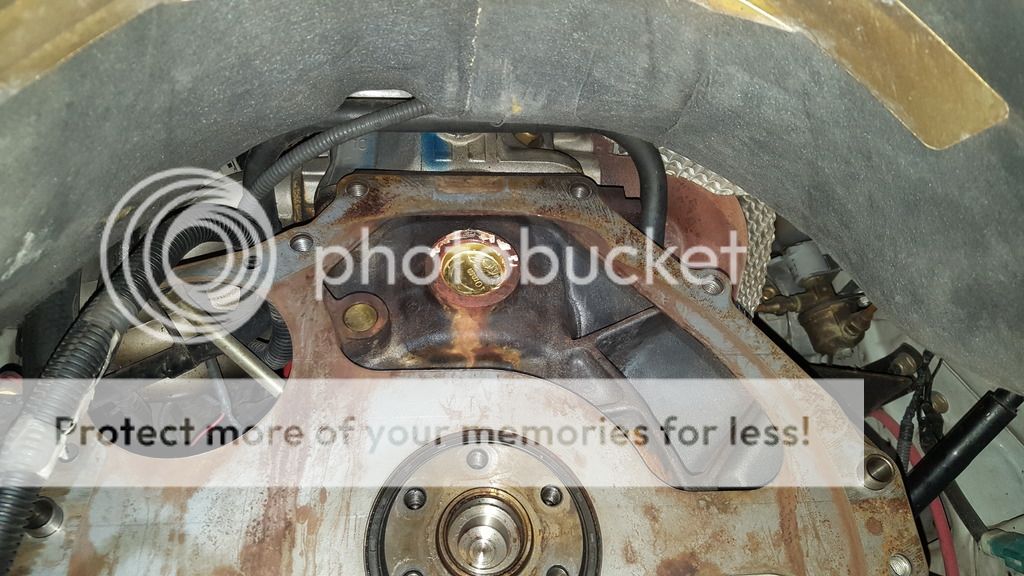 Flywheel back on, i torqued it to 85NM which seemed plenty tight. 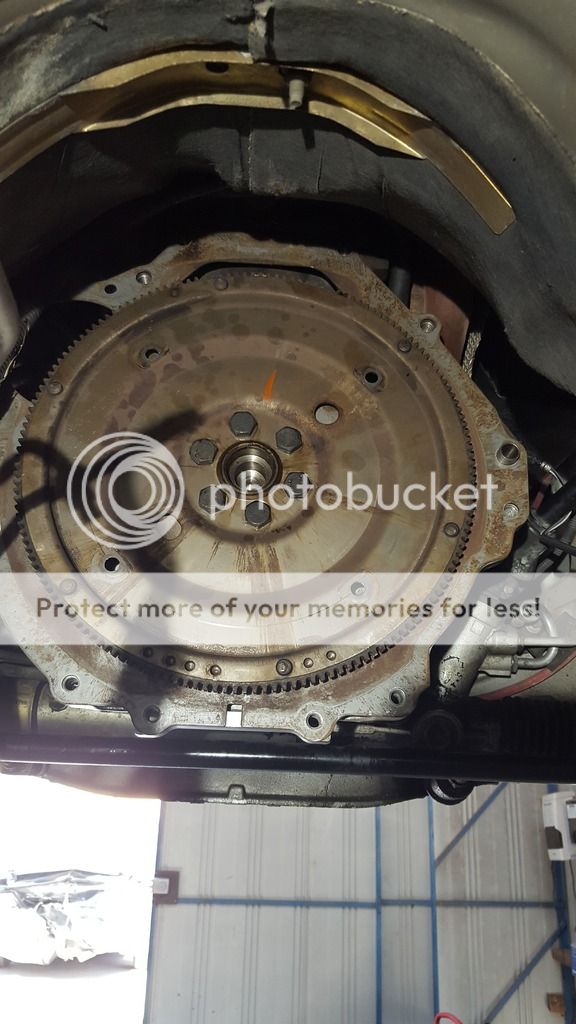 Then put the auto back. Trick is to align it using the dowels on each side then inserting couple of 19mm bolts finger tight, then couple of 13mm bolts then torque converter bolts (all of them, tightened to spec) then the remaining bolts and then tighten the whole lot. 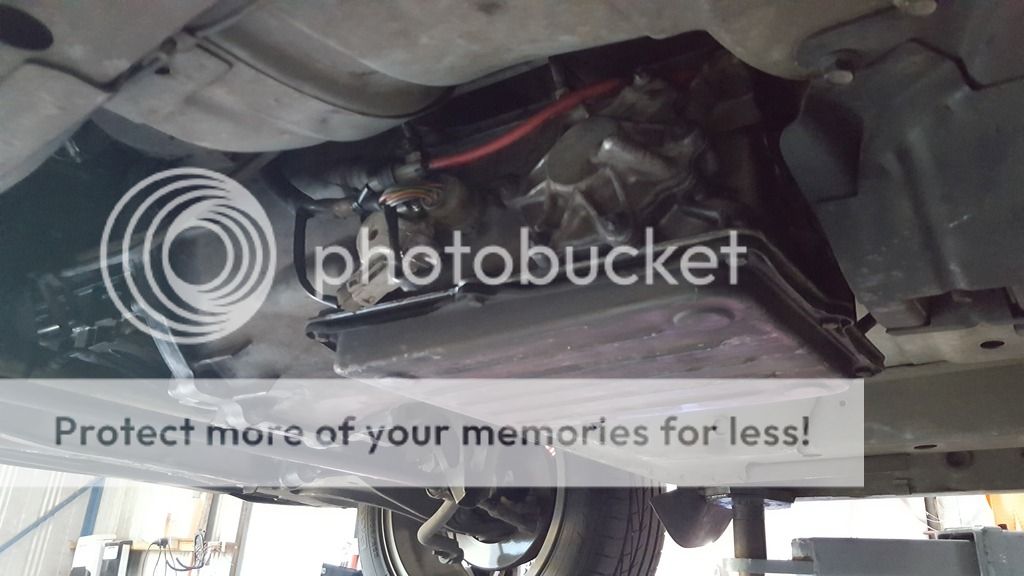 I refitted tailshaft and today I'll refit cat, flush the remainder of the coolant then put fresh coolant in the car and job should be done. Oh and of course re fit starter motor. Hopefully this guide will help someone doing a search for this problem on the forums or even on Google. Last edited by PridenJoy; 12-01-2017 at 02:48 PM. |
||
|
|

|
| 8 users like this post: |
|
|
#7 | ||
|
64 Deluxe 4 door
 Join Date: Jun 2007
Location: Raxacoricofallapatorius
Posts: 10,410
|
Did you replace the rear main seal while it was apart?
__________________
XM Deluxe FG XR50 BA Pursuit Ute |
||
|
|

|
|
|
#8 | ||||
|
Donating Member
 Join Date: Nov 2011
Location: Melbourne
Posts: 4,573
|
Quote:
 Quote:
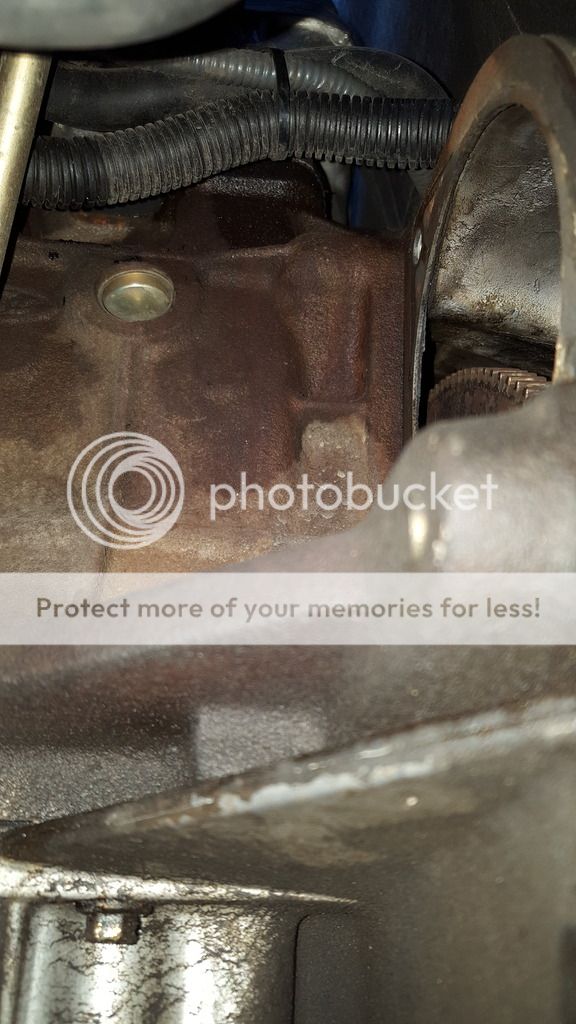
 Rear seal looked in good nick too so i didn't want to mess with it. Murphy's law it'll probably start leaking soon though Rear seal looked in good nick too so i didn't want to mess with it. Murphy's law it'll probably start leaking soon though 
|
||||
|
|

|
| This user likes this post: |
|
|
#9 | ||
|
FF.Com.Au Hardcore
Join Date: Mar 2005
Location: NSW
Posts: 1,802
|
good write up and pics mate.. Ive got to pull my trans out of the fairlane soon.. not looking forwad to that..
__________________
T2 TE50 no:154 Narooma blue AU2 XR8 ute XR4 fiesta |
||
|
|

|
| This user likes this post: |
|
|
#10 | ||
|
Regular Member
Join Date: Jan 2016
Posts: 124
|
Why on earth is that welch plug positioned there?[/QUOTE]
It's the way manufacturers cast the blocks they are all like that Cheers |
||
|
|

|
|
|
#12 | ||
|
Starter Motor
Join Date: Apr 2024
Posts: 1
|
Thanks for the in depth repair process. It gave me the place to look for my coolant leak coming from the same area and dripping off the bell housing.
Because I have oil leaks ie sump gasket and front seal and timing cover gasket,I decided to remove the engine leaving the trans in place. It was an effort, me with a buggered shoulder I got my son in law on the 🔧ís. Finally got the engine out today only to find the rear welsh plug was fine!! I have coolant seeping out from the head gasket! Bigger job now! |
||
|
|

|
| This user likes this post: |