
|
|
 |
|
|
|
Welcome to the Australian Ford Forums forum. You are currently viewing our boards as a guest which gives you limited access to view most discussions and inserts advertising. By joining our free community you will have access to post topics, communicate privately with other members, respond to polls, upload content and access many other special features without post based advertising banners. Registration is simple and absolutely free so please, join our community today! If you have any problems with the registration process or your account login, please contact us. Please Note: All new registrations go through a manual approval queue to keep spammers out. This is checked twice each day so there will be a delay before your registration is activated. |
|
|||||||
 |
|
|
Thread Tools | Display Modes |
|
|
#31 | ||
|
Formerly HAMFIST
Join Date: Feb 2009
Posts: 1,706
|
pritty shinny
 still dont like coupes with no roofs still dont like coupes with no roofs
|
||
|
|

|
| This user likes this post: |
|
|
#32 | ||
|
Regular Member
Join Date: Mar 2007
Location: Sydney
Posts: 340
|
I have put the new sound deadner in first under the dash. I am using closed cell foam with silver alumfoil face.
The fan had seized up years ago so the heater box had to be split to fix it. There was a bunch of dried leaves traped in there that I cleaned out. The clock was not working so I repaired it and put a new lens in and it is now running about 3 minutes a day slow so I am adjusting that and testing it before it goes back in the dash. Last edited by Jallopy; 04-04-2012 at 10:01 PM. |
||
|
|

|
|
|
#33 | ||
|
Regular Member
Join Date: Mar 2007
Location: Sydney
Posts: 340
|
Here is the time adjuster on the clock if it is out by 1 minute a day the amount you turn that slot is almost nothing.
You dont have to remove the plastic bulb holder to get to the slot either. 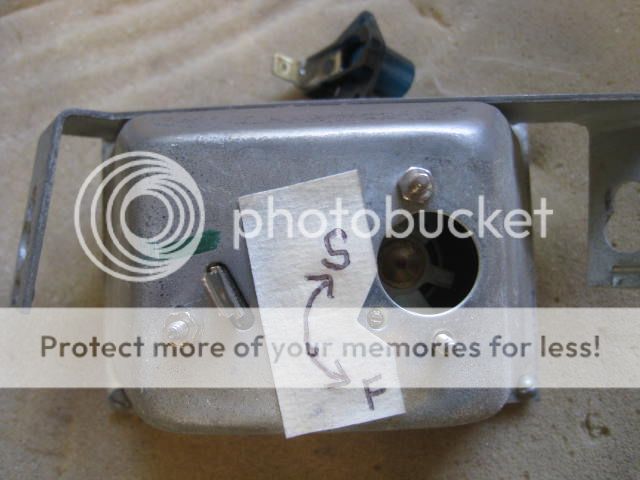 Tail lights have all the square bolt slots bent and rounded out so I got some spare square bolts from a doner car that were similar to the coupe bolts. I then welded up the diecast holes and recut them to the correct width with the angle grinder so the replacement bolts will fit tight into the housings and not spin. 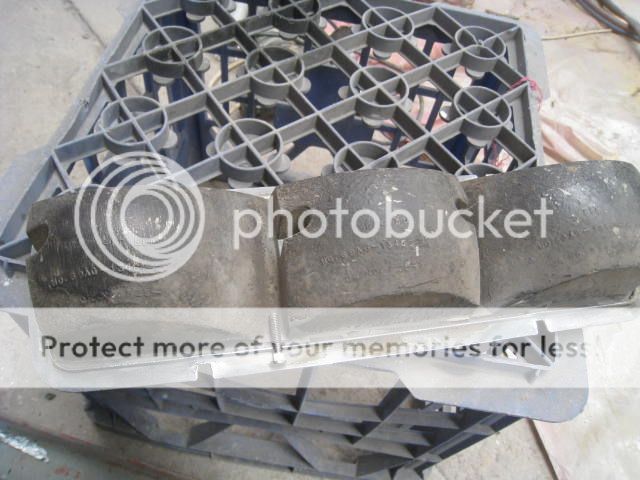 All proofcoat removed and ready for assembly. 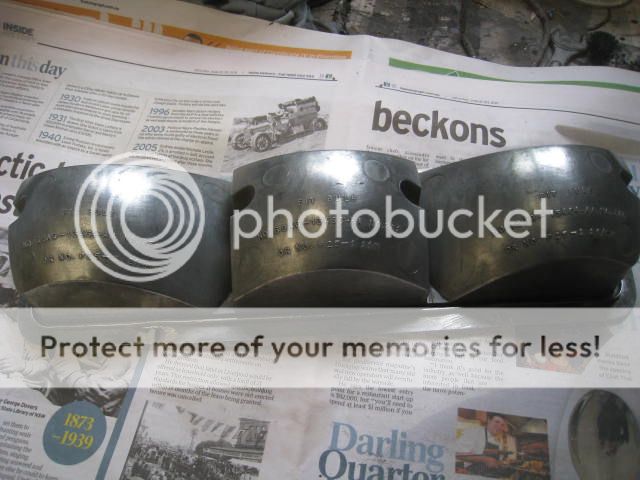 Here is another new part that does not fit correctly  The outer door belt rubber that goes against the glass. The clips dont hold the mould to the door so I got the razor blade and removed a small amount of rubber as shown. The one on the left has been trimed and the one on the right next to the blade I am about to do. Yes you have to trim the rubber next to all of the clips to make it sit closer to the door. 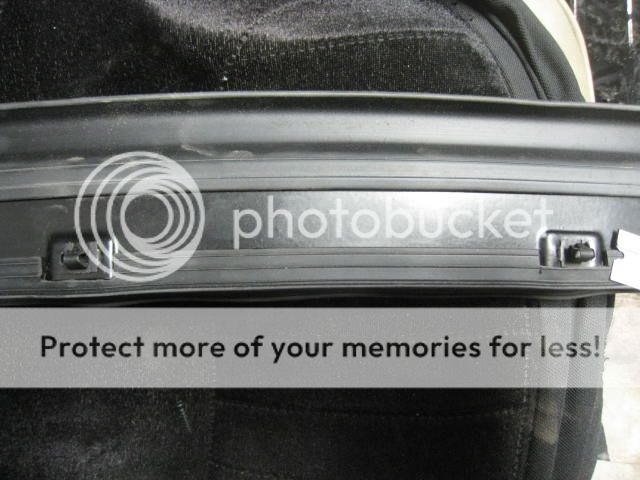 Here is a better shot of what to remove! 
|
||
|
|

|
| This user likes this post: |
|
|
#34 | ||
|
Regular Member
Join Date: Mar 2007
Location: Sydney
Posts: 340
|
The door are now on and all side glass fitted. I bought complete new electic motor kit for the windows also and conected the wires. The main switch block will go in the console, with no switches anywhere else!!
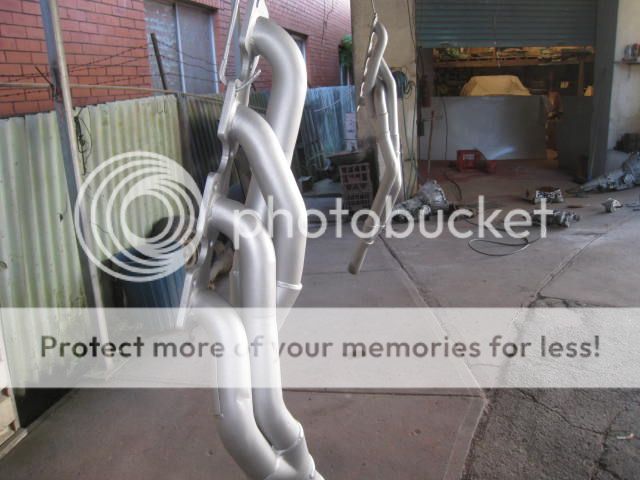
I had a look inside the engine to see if it needs rings etc as compression was around 110psi. The pistons are worn too bad to put back in and it is bored to +.060 so the block is now good for scrap. Out to the back yard to take the engine from the doner car (302 Fairlane) It is a good block it is still a virgin and will freshen up with .020 pistons and the 4mab crank from the other engine. The 351 heads all needing new valves and possibly seats. I will import all the parts from USA. The Fairlane had a set of Pacemaker extractors which I will be using after I repair a crushed pipe. 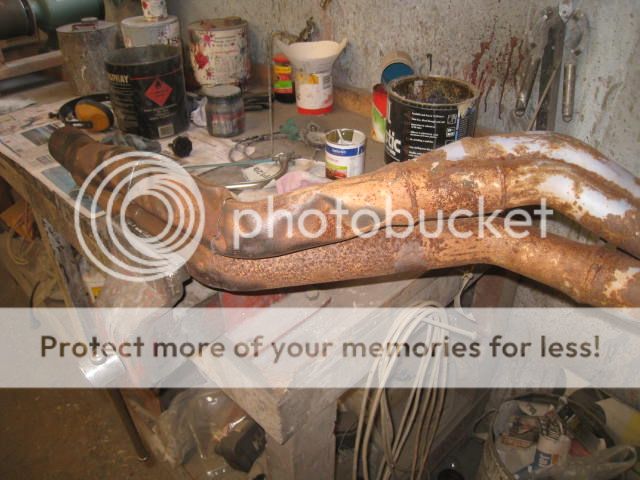 I ended up cuting the crushed part out along the bottom then panelbeated the other dents out before I welded another section back in. Its all good now. Finally A quick sand blast then a coat of paint 
|
||
|
|

|
|
|
#35 | ||
|
Regular Member
Join Date: Mar 2007
Location: Sydney
Posts: 340
|
A coat of Hi temp paint
 The Fairlane had a 4 barrel manifold but Ill stick with the 2 barell manifold for now. 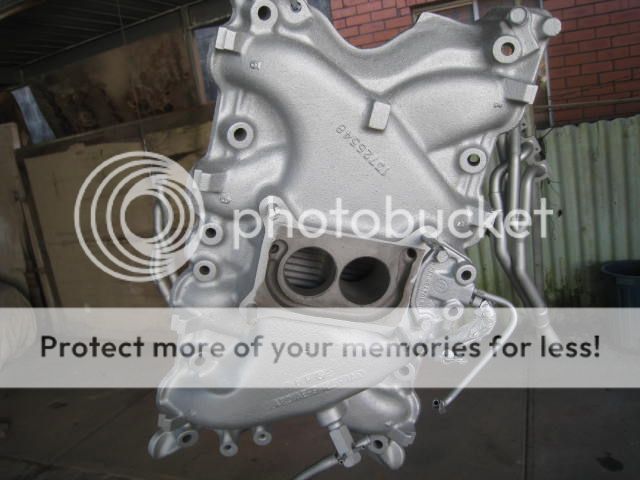 I ordered a full Master Engine Rebuild Kit ; (Rings, Rod Bearings, Gasket Set ), Pistons, Main Bearings, Cam Bearings, Oil Pump, Freeze Plugs, Cam Kit (Camshaft, Lifters), Timing Kit from Cleggsengines USA $470 plus new valves and springs $102 and postage was about $250 The open chamber heads have been rebuilt now with hardened seats and new guides. The 4mab crank and rods are perfect at -010 so that wont be ground down again this time just new bearings. I will get around to assembling the engine later this week now I have everything for it. 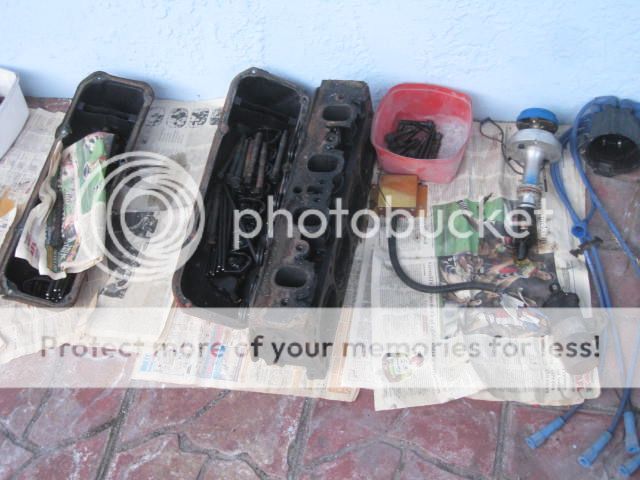 The Fairlane 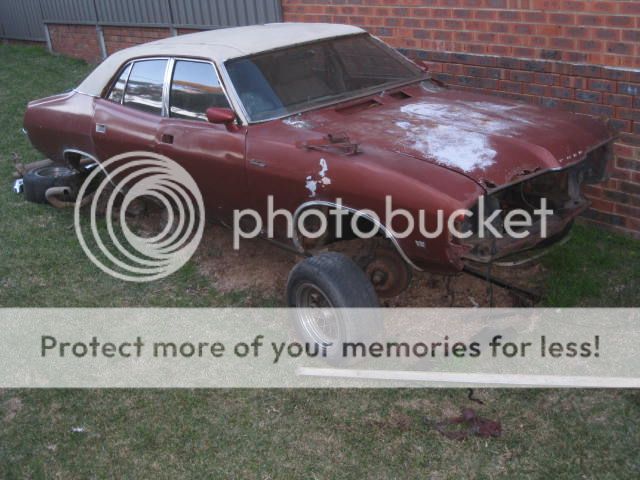 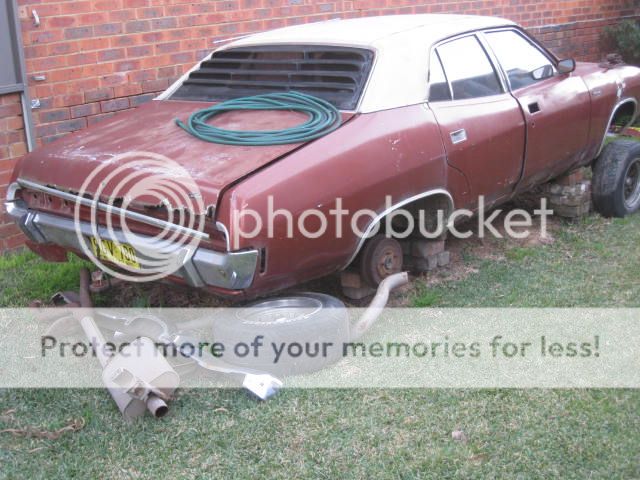 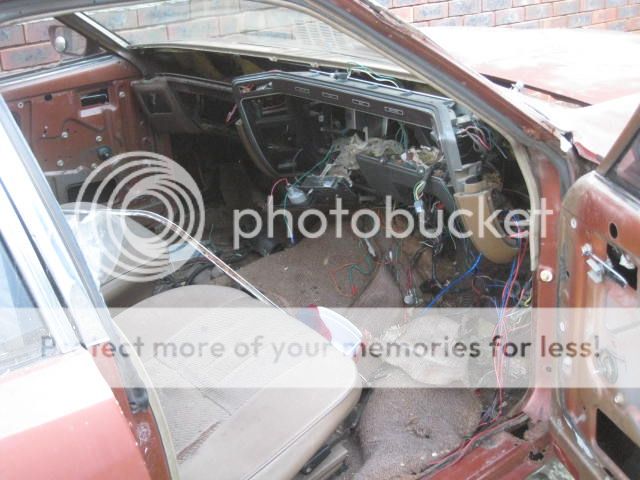
|
||
|
|

|
|
|
#36 | ||
|
FF.Com.Au Hardcore
Join Date: Sep 2011
Location: Victoria
Posts: 2,182
|
Did you use a fusable aloy to reset the fail safe in your clock?
|
||
|
|

|
|
|
#37 | |||
|
Regular Member
Join Date: Mar 2007
Location: Sydney
Posts: 340
|
Quote:
   I just use a screw driver I just use a screw driver 
|
|||
|
|

|
|
|
#38 | |||
|
FF.Com.Au Hardcore
Join Date: Sep 2011
Location: Victoria
Posts: 2,182
|
Quote:
When your clock shorts out and make no mistake it will You will look pretty stupid trying to put your car fire out with your pants 
|
|||
|
|

|
|
|
#39 | ||
|
Regular Member
Join Date: Mar 2007
Location: Sydney
Posts: 340
|
Here is a box of engine parts from USA.
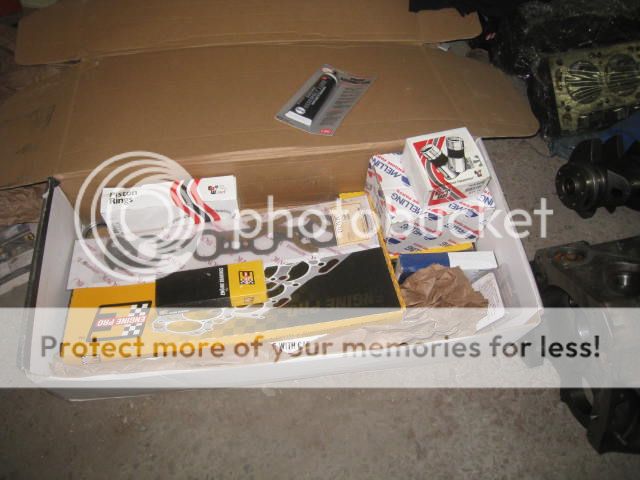 The engine bored .020 and decked. 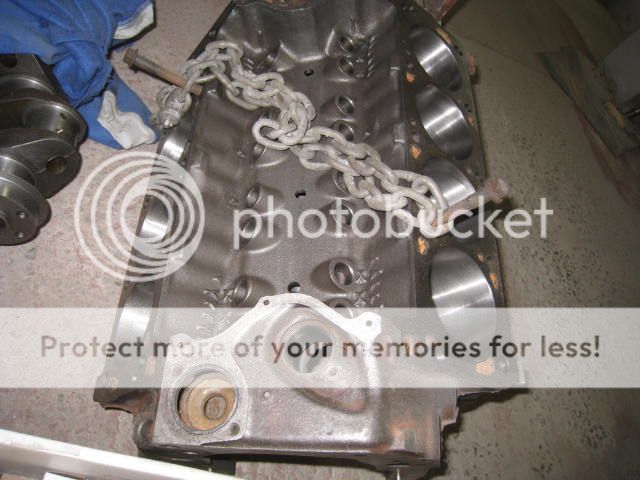 Head completely rebuilt New valves, springs, seats and guides. 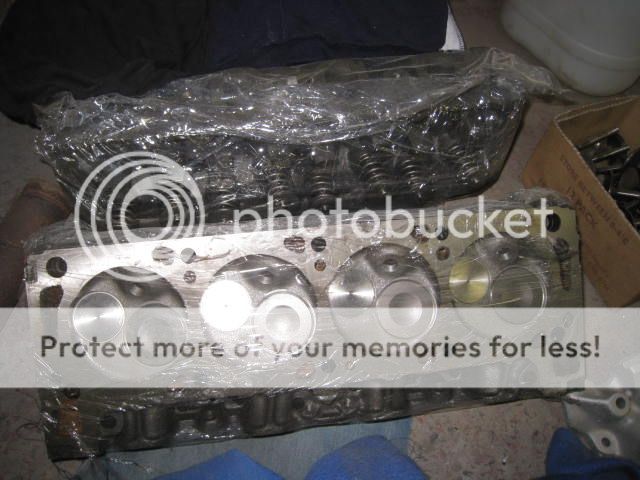 I will now rebuild it. After the drive line is in.... I am just wondering what colour to do the interior, seats, door trims convertible top, carpets.... . It was originally white from Ford, but I am not sure that is a sensible colour for a convertible  that is not going to be a trailer Queen. that is not going to be a trailer Queen.
|
||
|
|

|
|
|
#40 | ||
|
Regular Member
Join Date: Mar 2007
Location: Sydney
Posts: 340
|
Starting to rebuild the 351 Cleveland engine.
New water pump,thermostat and neck. Fuel pump replaced. 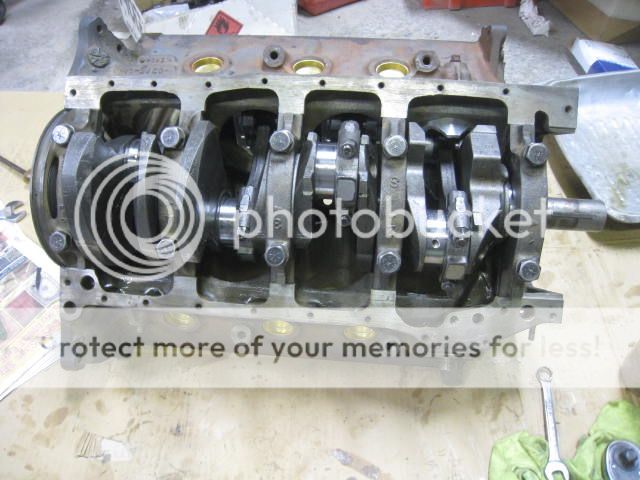 I had a bit of a hold up when assembling the valve rockers and new hydraulic lifters the gap was a little tight on 7 of the valves so I had to order in a set of shims to fix the problem, all good now. Engine and C4 ready to go in. All 4 oil seals and sump gasket replaced in the C4 New neutral safety switch also 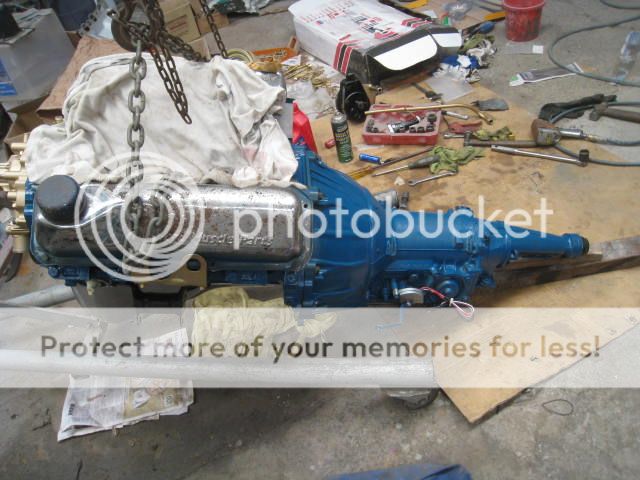 The engine is just sitting there and I will fit the Pacemaker extractors before putting all the engine mount bolts in. 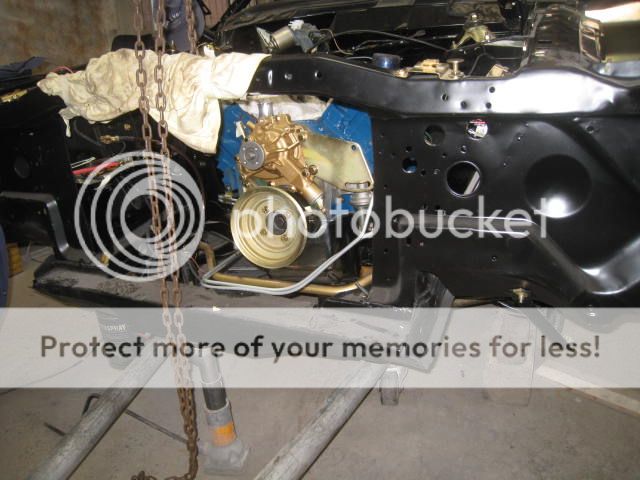
|
||
|
|

|
|
|
#41 | ||
|
Member 178
Join Date: Dec 2004
Location: Rockhampton
Posts: 1,385
|
Subscribed. Something different.
|
||
|
|

|
|
|
#42 | ||
|
FF.Com.Au Hardcore
Join Date: Aug 2006
Location: ipswich
Posts: 522
|
i am still trying to work out how you made a set of honeycombs for the rear or did i read it wrong ...good work though
 ...doc ...doc
|
||
|
|

|
|
|
#43 | ||
|
74xbkoop
Join Date: Mar 2008
Posts: 204
|
Coming along well. You do very good work. As Doc asked do you make your own honeycombs?
|
||
|
|

|
|
|
#44 | ||||
|
Regular Member
Join Date: Mar 2007
Location: Sydney
Posts: 340
|
Quote:
Quote:
I have been selling them on ebay about once a month for restorers looking for a set for their coupe.  As I have restored many coupes the honeycombs were often the missing link.... to have to find and chase up only to find they had holes drilled in them to hold them on or were damaged. Often paying $350 - $550 for a set then spend many more hours to restore them. . |
||||
|
|

|
|
|
#45 | ||
|
Regular Member
Join Date: Mar 2007
Location: Sydney
Posts: 340
|
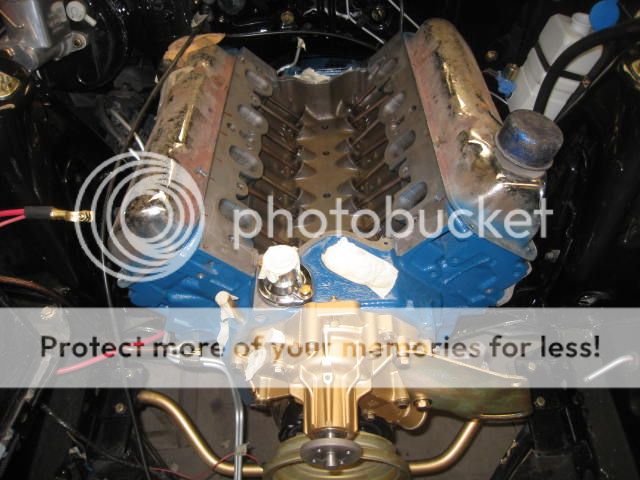 The manifold is on I thought there was a dodgy thread (probably cross threaded ) for one of the bolts so I did a test first I torqued that bolt down and it held so I removed it all again then applied gasket maker and retorqued it down. Carb has been rebuilt new bushes around the throttle shaft as it was a little worn and a rebuild kit thru it as well. 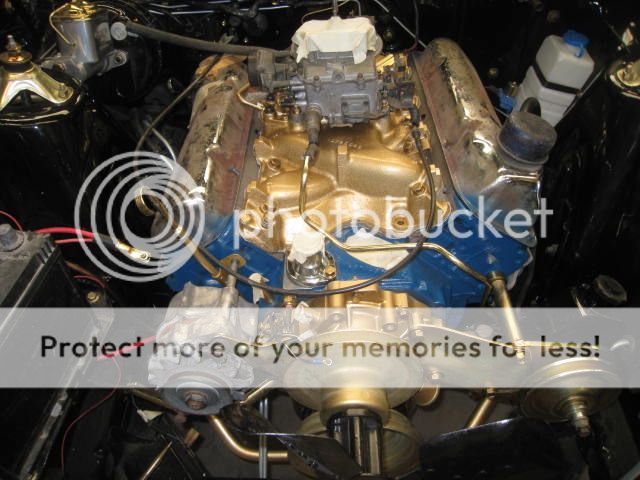 Now the radiator from the Fairlane is a 5 core and I am going to fit that instead of the 2 core that came out of it. The fan is now way to close to the core so I got the fan extension from the Fairlane which is about 12mm shorter and I have a flex fan which is going on after I have painted it. I also had to massage the right side of the radiator support to make the radiator fit neatly |
||
|
|

|
|
|
#46 | ||
|
Regular Member
Join Date: Mar 2007
Location: Sydney
Posts: 340
|
Heavy Duty 4 row radiator all paint striped and tested.
 I have now decided to buy a different new radiator and thermo fan after all that work fitting the heavy duty 4 core 
|
||
|
|

|
|
|
#47 | |||
|
FF.Com.Au Hardcore
Join Date: Aug 2006
Location: ipswich
Posts: 522
|
Quote:
|
|||
|
|

|
|
|
#48 | |||
|
Regular Member
Join Date: Mar 2007
Location: Sydney
Posts: 340
|
Quote:
|
|||
|
|

|
|
|
#49 | ||
|
Regular Member
Join Date: Mar 2007
Location: Sydney
Posts: 340
|
I have purchased a new XD V8 3 core radiator and AU twin thermo fans to install with no fan hanging off the water pump any more.
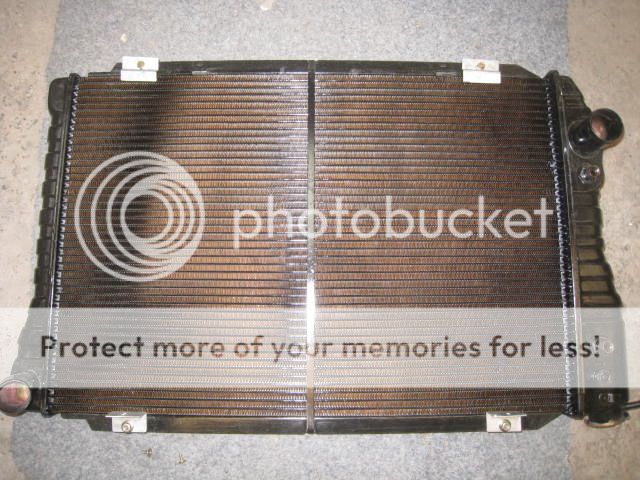 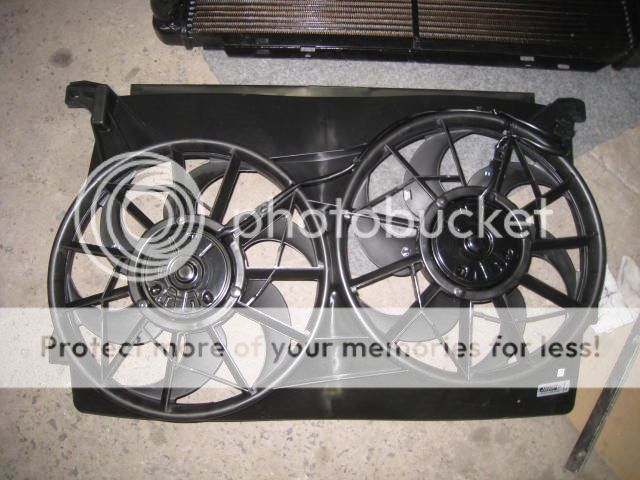 Turned the AU fan upside down and it is a perfect snug fit. Attached it with 4 metal brackets I made to suit. 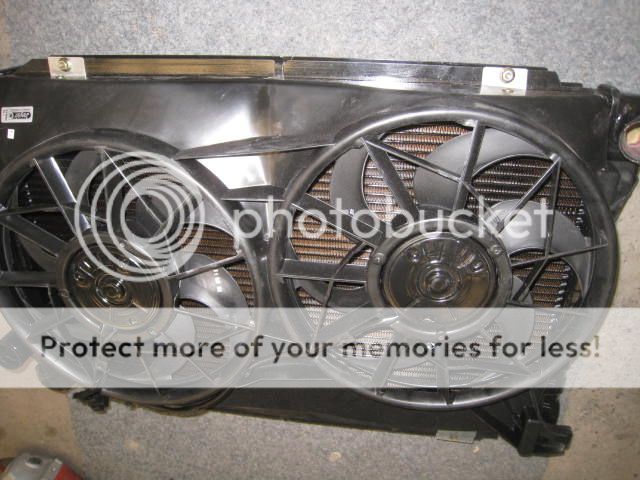 Here are the brackets before painting 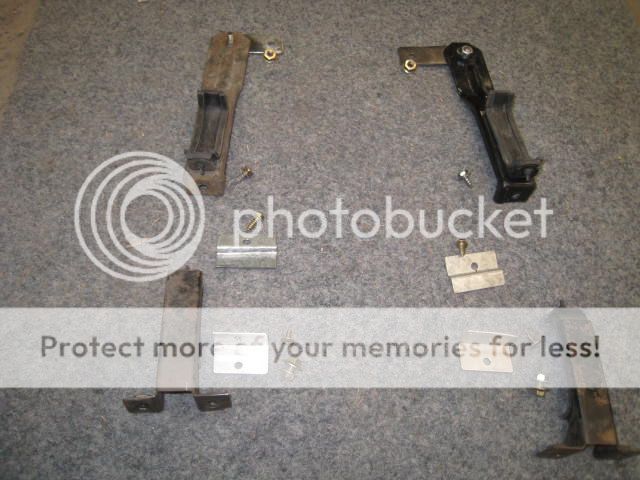
|
||
|
|

|
|
|
#50 | ||
|
FF.Com.Au Hardcore
Join Date: Feb 2012
Location: Sydney, NSW
Posts: 2,970
|
Wow! What a build. So thorough and pedantic, this car will be immaculate once completed. Can't wait to see it finished
|
||
|
|

|
|
|
#51 | ||
|
Regular Member
Join Date: Mar 2007
Location: Sydney
Posts: 340
|
Yes Andy I cant wait to see it finished also but it may be a while yet as there will be no shortcuts taken on this build.
Radiator is now in. 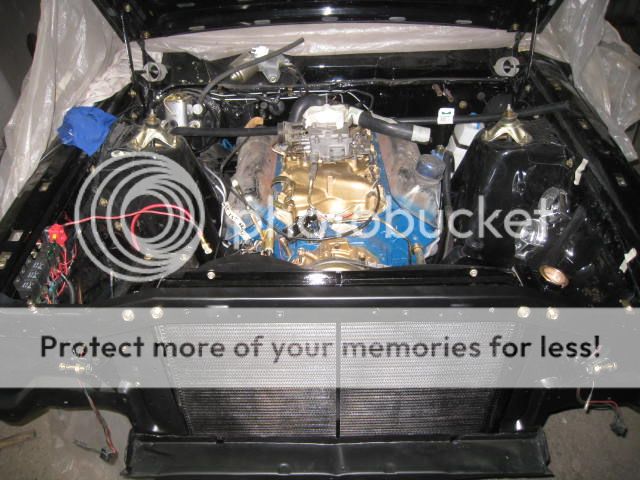
|
||
|
|

|
|
|
#52 | ||
|
Regular Member
Join Date: Mar 2007
Location: Sydney
Posts: 340
|
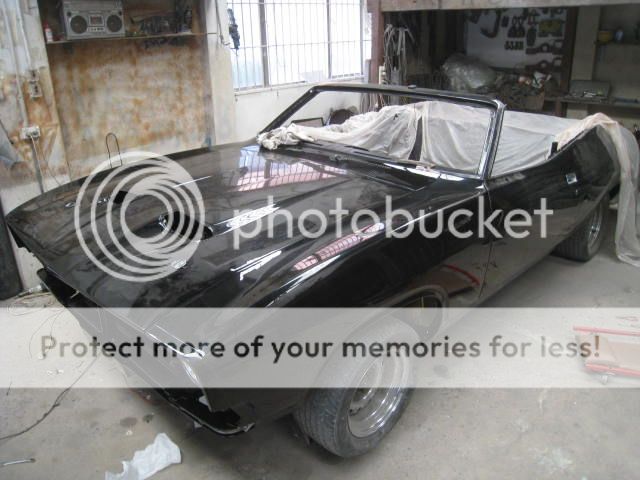
Guards and bonnet on now.
 Twin relays 30A each to power the fans and a 90 deg C switch attached to the radiator next to the bottom radiator hose. This is closest to the return of the coolant after it has been thru the radiator. I powered the relays to run only if the Ign. is on. 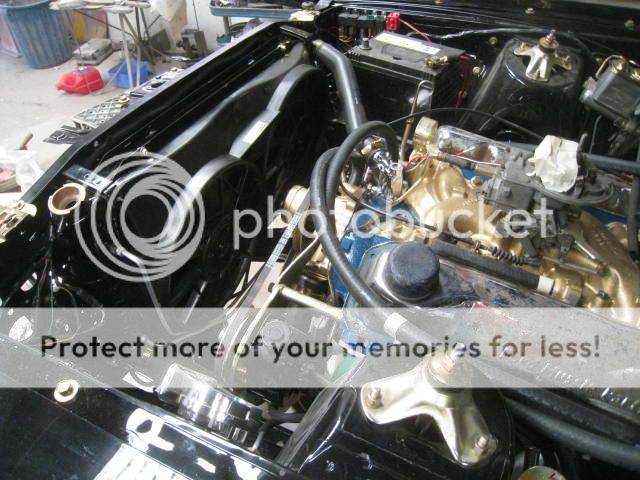 I was hoping to fit these two driving lights but the are about 1mm to round to fit into the rings in the grill. I will now order 2 replica lights that will fit. The 7" headlights are Britax H4 with the clear lens. 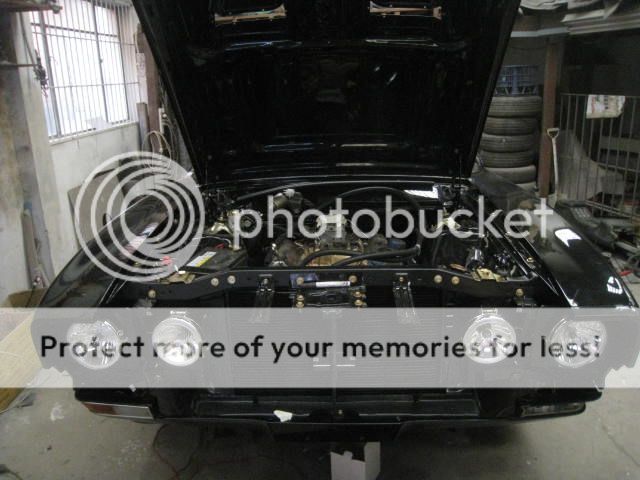
|
||
|
|

|
|
|
#53 | ||
|
Donating Member
 Join Date: Dec 2004
Location: QLD
Posts: 11,836
|
Lookin' Good !!!
|
||
|
|

|
|
|
#54 | ||
|
FF.Com.Au Hardcore
Join Date: Jan 2012
Location: Brisbane QLD
Posts: 570
|
I don't mind convertible coupes. I could never cut the roof off one though, but i'd buy one already done and keep it topless. Keep up the nice work mate.
|
||
|
|

|
|
|
#55 | |||
|
Regular Member
Join Date: Mar 2007
Location: Sydney
Posts: 340
|
Quote:
 Im starting onto the interior now. Made up all the interior cards from 3mm MDF The speakers are now set back against the steel and the new trim will surround them. The window regulator just brushes past the magnet on the way up. 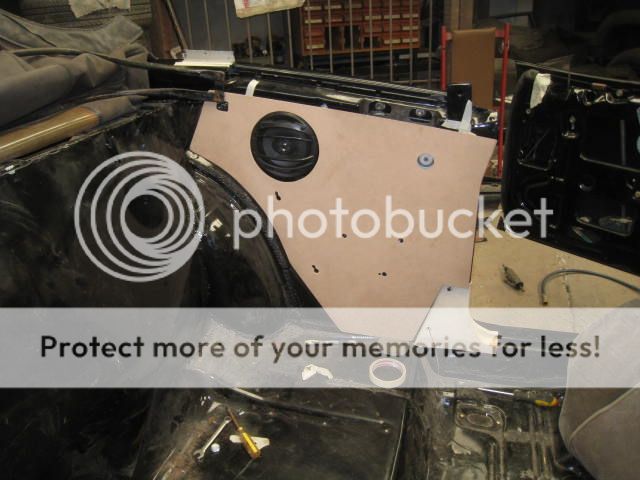 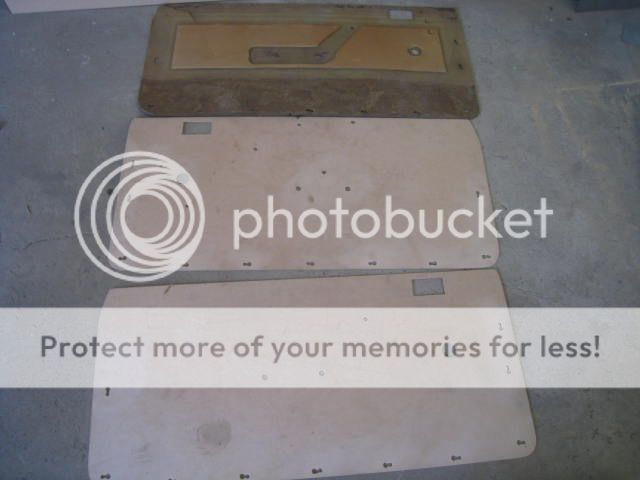 The new convertible top is the last thing Im going to do. 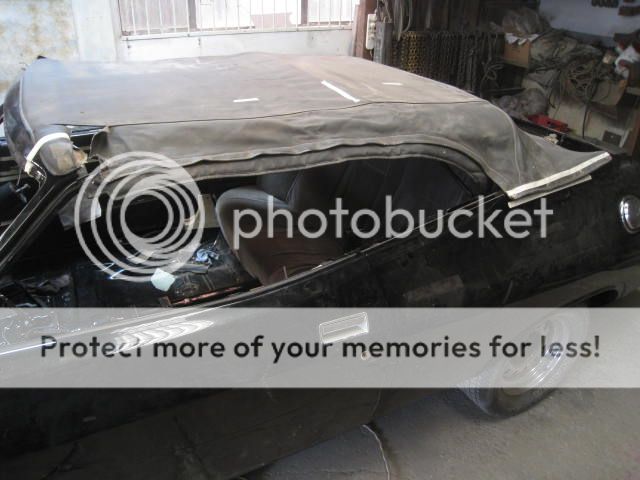 The top of the rear seat where it slips over the top hook is in the wrong spot so I welded another support in, so it actually catches on it now 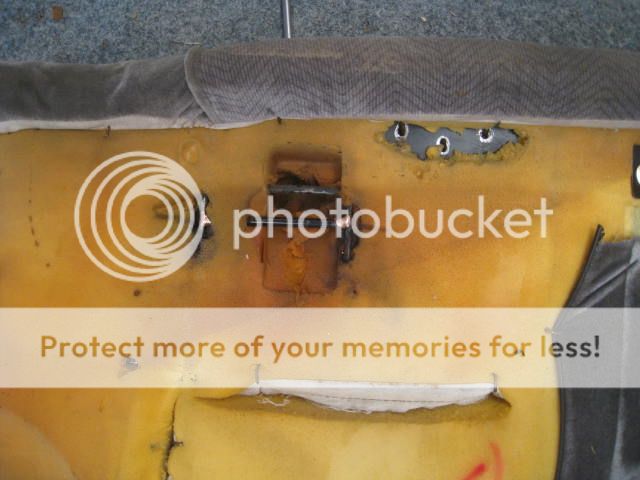 Striped the vinyl off the center console and found the top all smashed and cracked like Humpty Dumpty. Just starting to fiberglass a new top back on. First I made a wire frame to hold the glass mat. 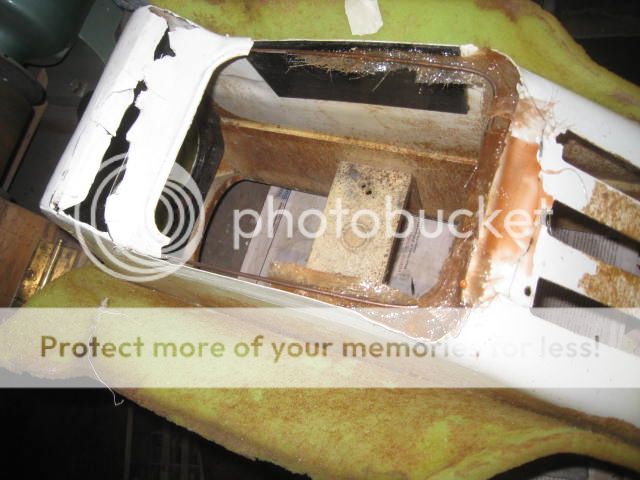
|
|||
|
|

|
|
|
#56 | ||
|
Regular Member
Join Date: Mar 2007
Location: Sydney
Posts: 340
|
The fiberglass mat does not like to wrap around bends so I cut up a black cotton T shirt and soaked it in the resin.
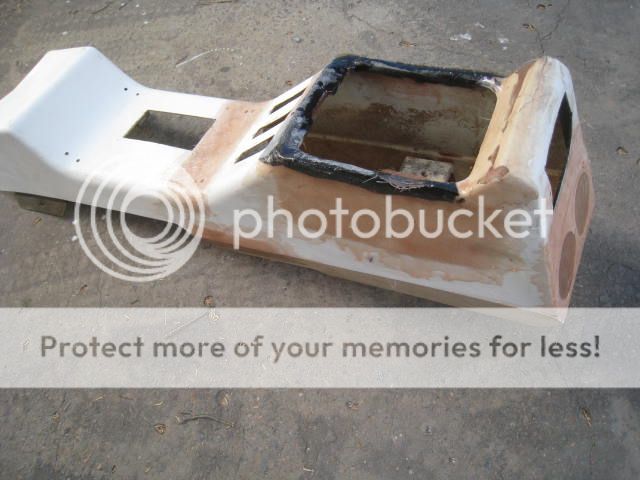 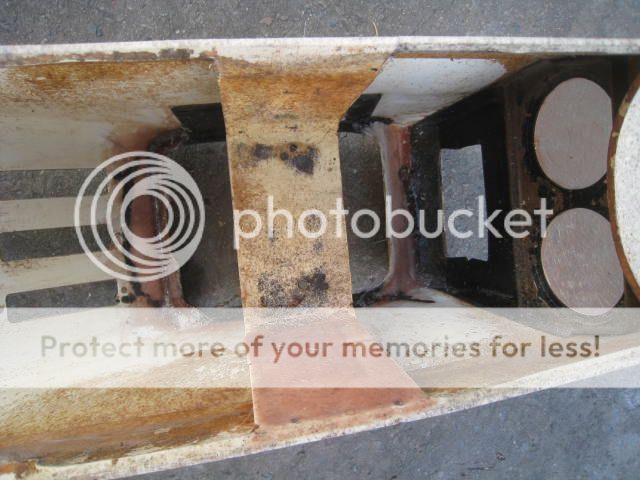 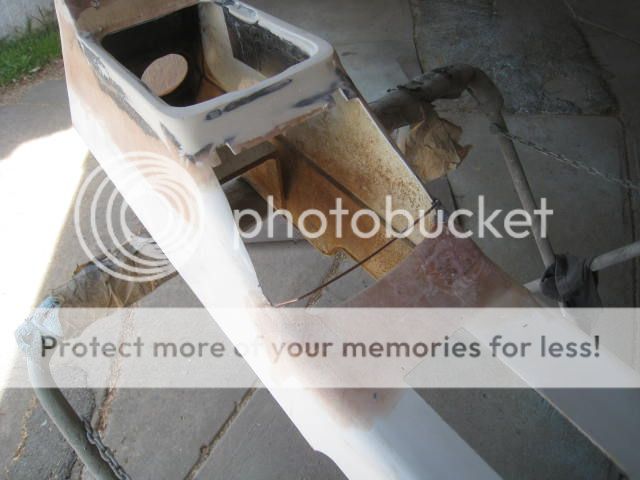
|
||
|
|

|
|
|
#57 | ||
|
Regular Member
Join Date: Mar 2007
Location: Sydney
Posts: 340
|
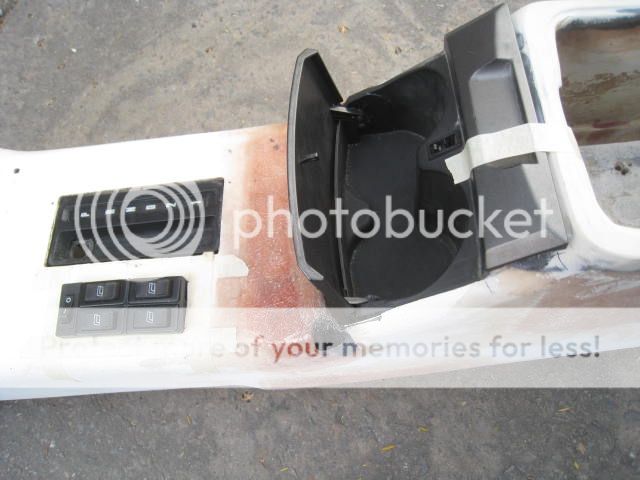
Test fitting the BA Cup holder (Thanks for the tip Geez) ..... and the electric window switches
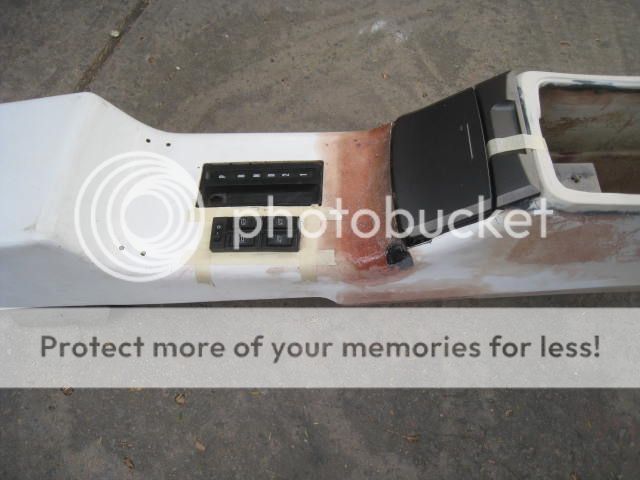 
|
||
|
|

|
|
|
#58 | ||
|
Regular Member
Join Date: Mar 2007
Location: Sydney
Posts: 340
|
This console needs more work to make it look good.
I extended the front of the lid to follow the new contour of the drink holder. 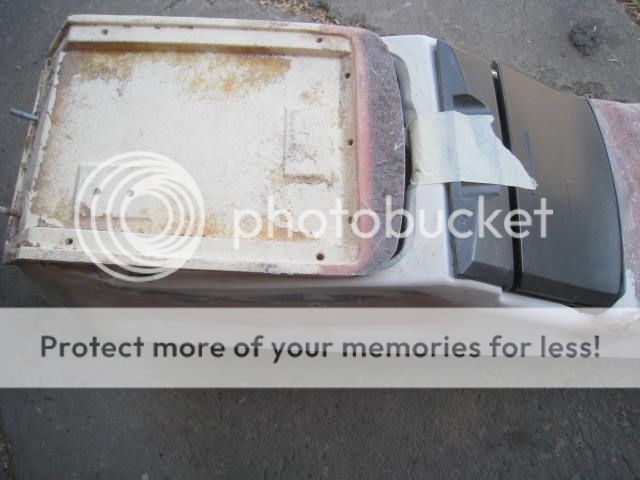 The inner cover is broken as well in three spots.( I have repaired 2 already) 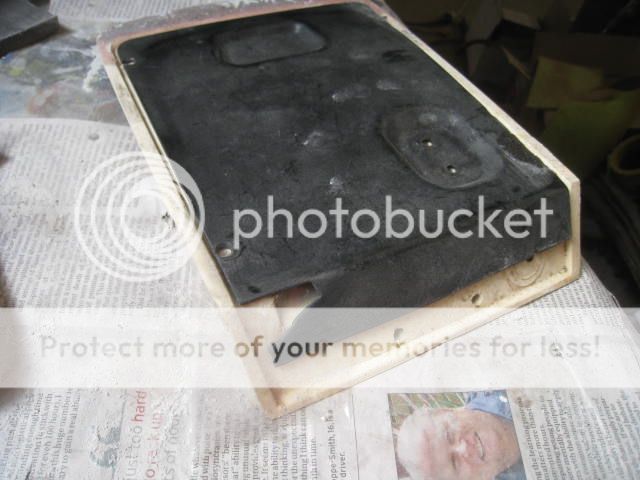 Tip the plastic powder on then add drops of the adhesive and 10 seconds later it is all done. Sand and clean up if you want to. 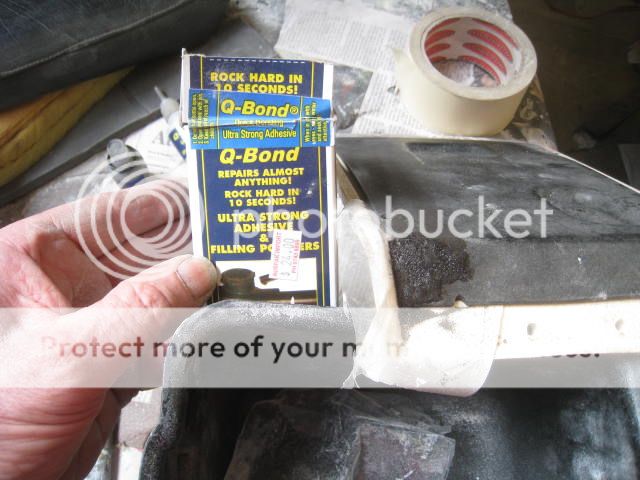 Ready for retriming 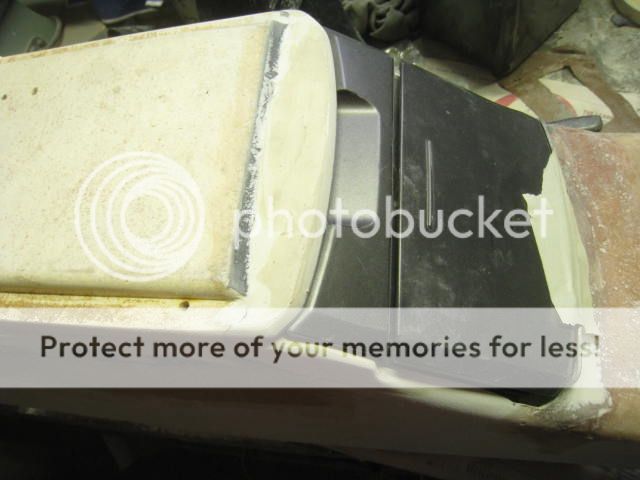
|
||
|
|

|
|
|
#59 | ||
|
Clevo power!
Join Date: Feb 2012
Posts: 512
|
I bought a set of honeycombs off you from ebay, didn't know who it was until I saw this. I haven't seen them yet as I'm on the other side of the country, but have been told they look great. I have even more faith in the quality now!
Great work on your beast, making good progress. Nice attention to detail too. Will you be able to make the new top look a nicer shape than the old one? Or is it dependent on how it folds?
__________________
The beast: XB coupe, 302, manual all the way! Fixing up thread The purple monster, daily BA XR6 turbo. Scale Lego Technic XB Coupe with working bits! Build thread |
||
|
|

|
|
|
#60 | ||
|
more cubes please...
Join Date: Oct 2006
Location: Tassie
Posts: 2,536
|
Nice job. I'm impressed by your fibreglass skills. Thanks for the pics.
I was looking at your radiator / fan setup. I use the same deal in 2 of my clevo powered fords. The question I have is why is the temp switch next to the bottom hose? Every set up I have seen has the switch plumbed into the thermo housing or top hose. That way the fans are triggered by hot coolant from the engine. I cant see how your setup will trigger the fans without the engine being overheated. Maybe I'm missing something here, but I would hate to see you loose an engine. Ian
__________________
Original T-code XE S-pack. Project thread: http://www.fordforums.com.au/showthread.php?t=11293740 XY Wagon - 351C with 2V AFD alloys, Toploader & 9 inch, GT interior - 13.3 @ 109 XB Hardtop big block project ... I'll get to it one day 1967 FJ40 Landcruiser 'Rusty' |
||
|
|

|